Every yarn project is bound to require you to weave in ends in knitting. It’s inevitable; you have a tail from your different cast-on methods and one from your bind-off. And if you’ve used more than one skein of yarn or switched colors during your project, you’ll have several more ends to secure.
Weaving in is yet another essential knitting definition. Do you find yourselves tangled up in a knot of yarn ends, not knowing where to weave in and how? Fear not; this guide on “How to Weave in Ends Knitting” is your new best friend, and it’s just a stitch away!
Before You Start to Weave in Ends
When diving into the sea of yarn ends, take a moment to prepare. Grab a cup of tea or perhaps a glass of wine for the more adventurous among us (just don’t spill it on your project).
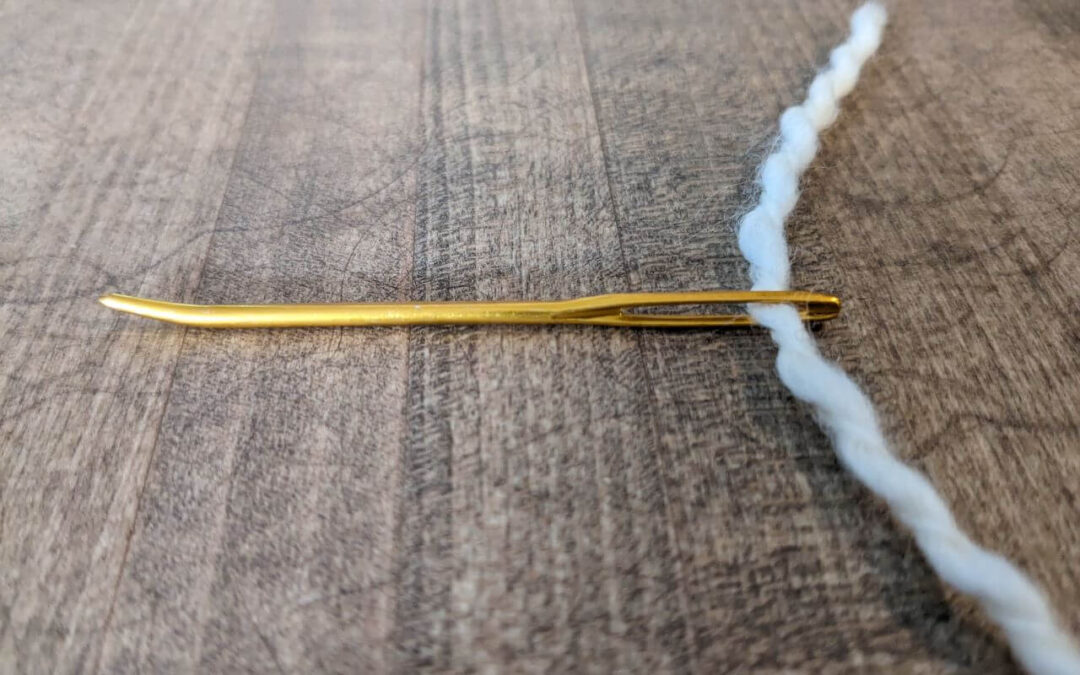
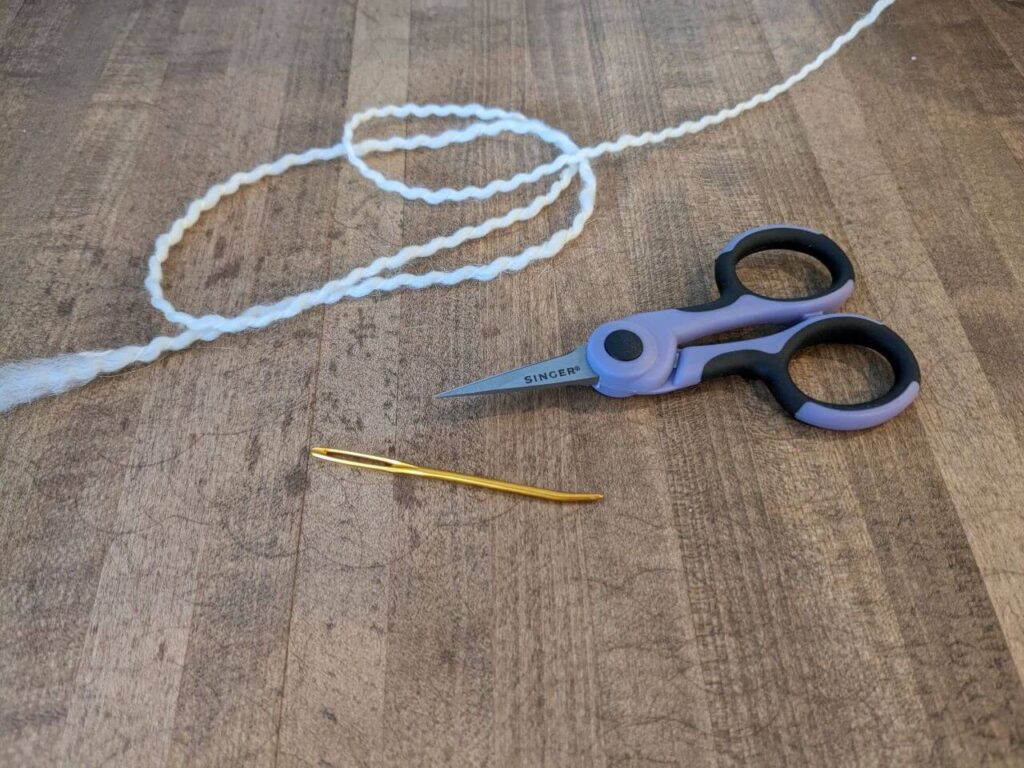
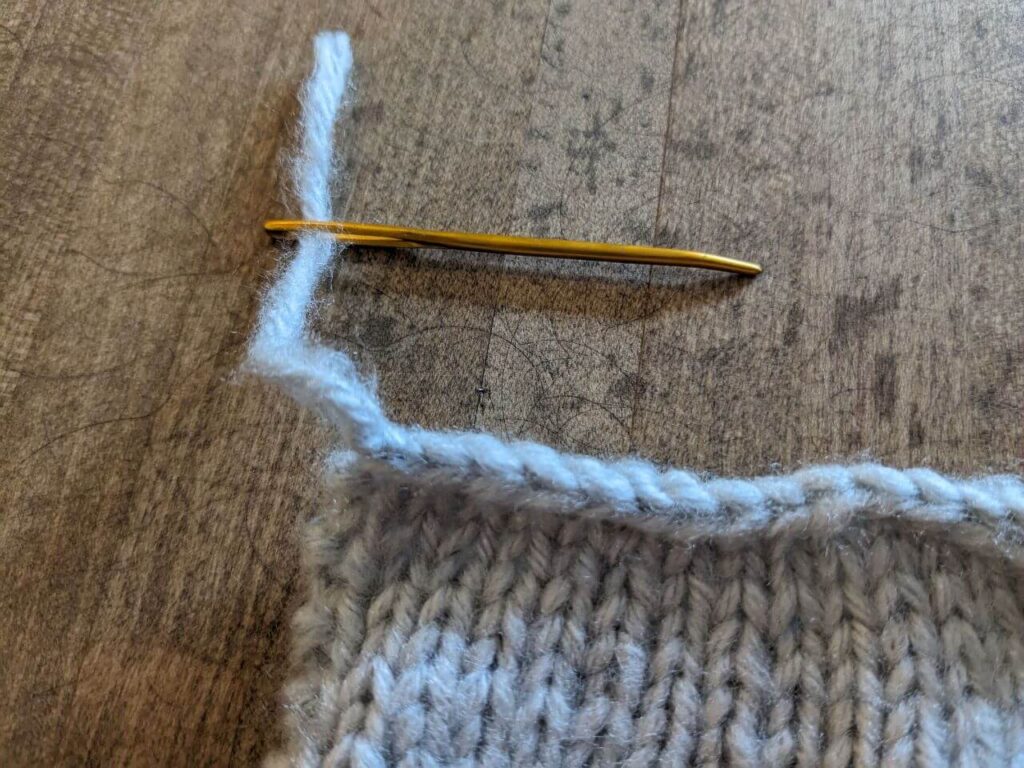
First things first, you’ll need a darning needle, one of the essential knitting supplies for beginners. Don’t worry; we’re not planning a heist on grandma’s sewing box. You can find these needles at your local craft store or online; they’re often called yarn needles. They have a larger eye suitable for threading yarn and a blunt tip that won’t split your stitches.
Next, take a moment to appreciate your knitting piece. You did the hard work of learning stitches and learned how to read a knitting pattern. Admire the design, the color, and the effort you’ve put into every stitch. Now, gaze upon those loose ends that seem to have a life of their own. Today, they meet their match!
Weave in Ends Knitting Methods and Goals
No matter which fibercraft you do, you’ll have ends to weave. There’s no difference between crochet and knitting in this area!
The ultimate goal in weaving in ends knitting is to make those yarn tails as invisible as possible, ensuring they are secure enough not to unravel your handiwork. Now, this might sound as challenging as wrestling a ball of yarn from a playful kitten, but with practice, you’ll soon be a pro.
There are different methods for weaving in your ends, depending on the texture of your yarn, the stitch pattern, and the part of the knitting where the end is located. Hold onto your knitting needles because we’re about to dive into the most popular ones.
Weaving in Ends Along the Edge
Weaving in ends along the edge is often the go-to method for many knitters. It’s ideal for projects with clear edges, such as scarves or blankets.
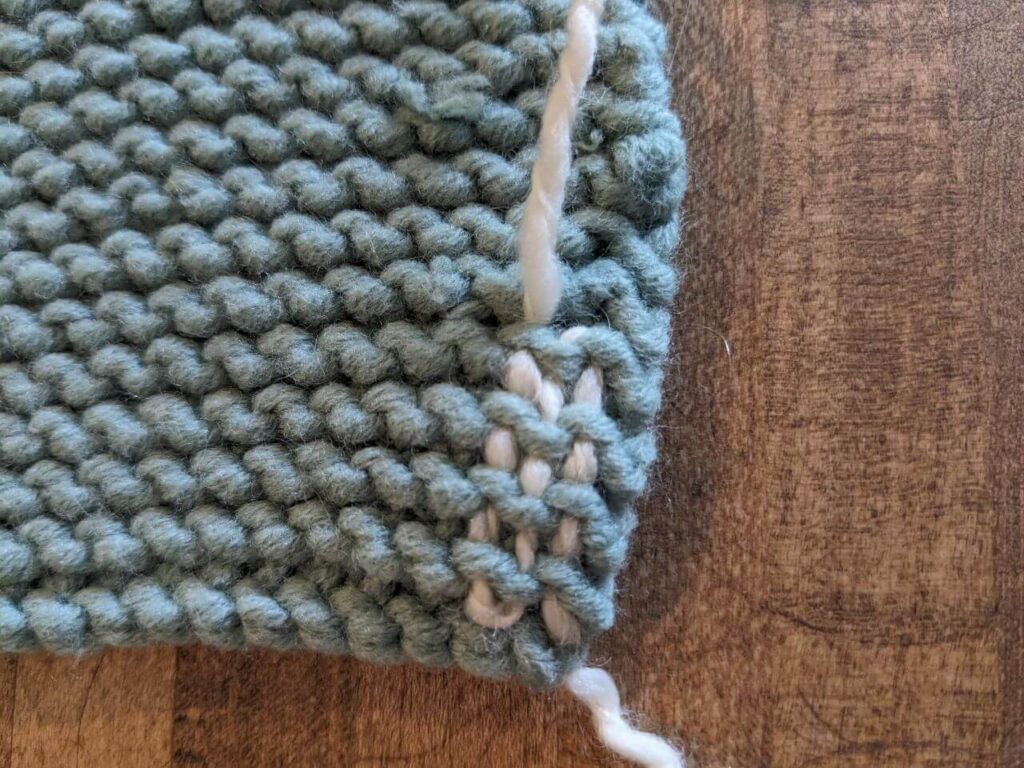
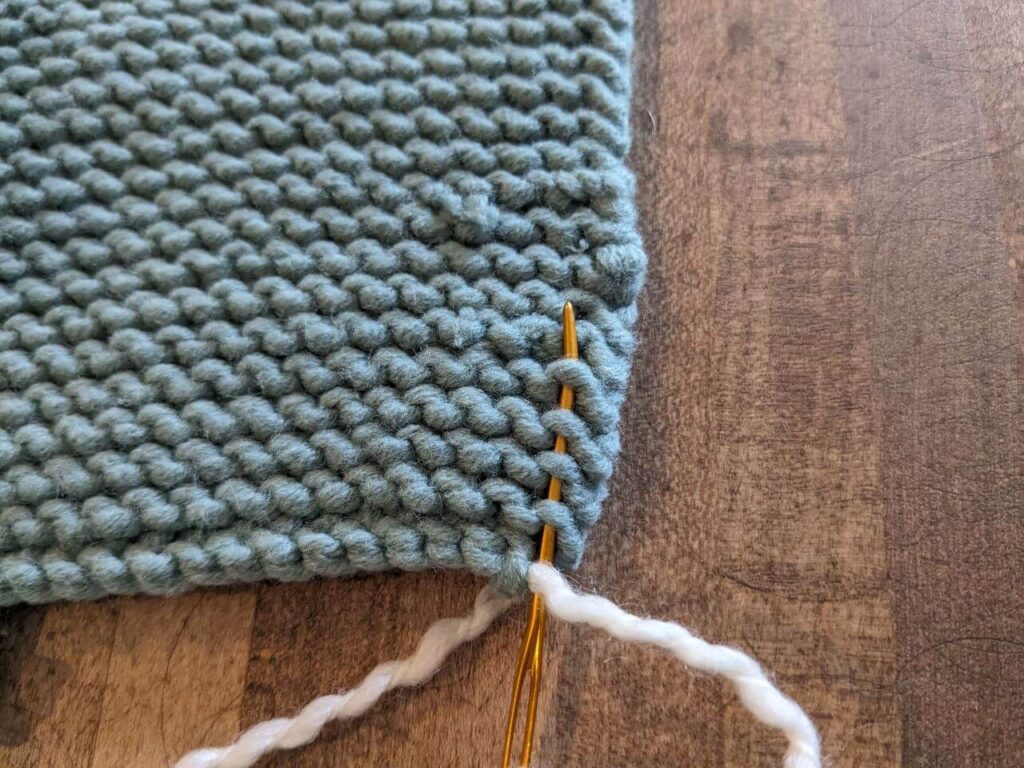
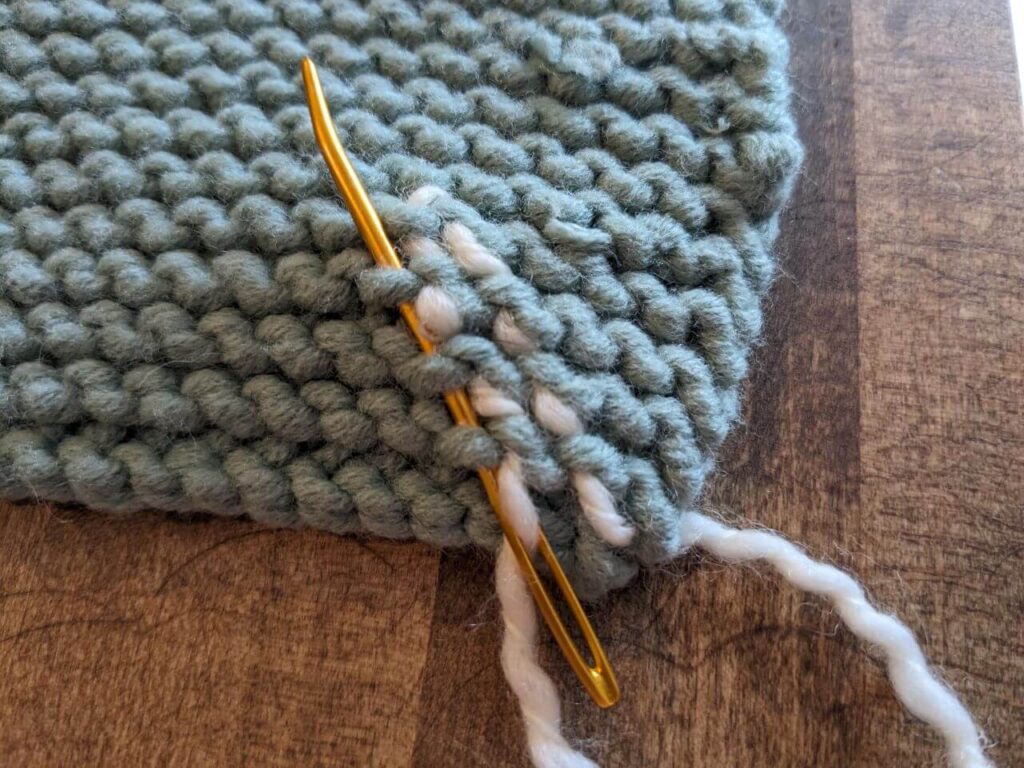
Begin by threading the end of the yarn through the darning needle. Begin at the base of your work and weave the yarn under and over the edge stitches, effectively wrapping the edge in a zig-zag manner. Don’t pull too tight, as this could warp your fabric. Aim to weave in for about an inch or two, depending on the thickness of your yarn.
Once you’ve woven in that length, it’s time for the secret trick: weave back in the opposite direction. Yes, you heard it right! This little back-and-forth dance helps to secure the yarn end even better. This is no time for shortcuts. Your future snuggly self will thank you!
Here’s a step-by-step guide:
- Start by threading the yarn end through your darning needle. Ensure the yarn isn’t twisted and lies flat against the needle.
- Position your needle at the base of your work, where the yarn end protrudes. Slide the needle under the first stitch along the edge, making sure you’re catching both the top and bottom loops of the stitch.
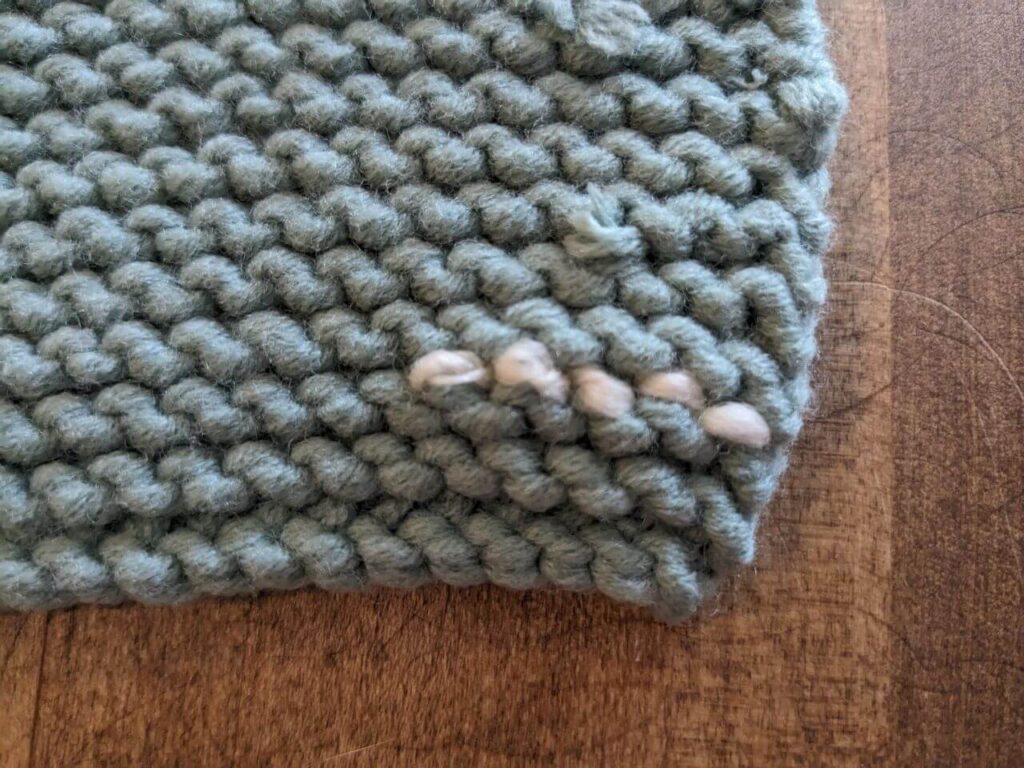
- Move the needle to the next stitch along the edge and slip the needle under this stitch as well. The path of your needle should create a “zig-zag” effect along the border, moving under and over the edge stitches.
- Continue this process for an inch or two, depending on the thickness of your yarn. The thicker the yarn, the longer you should weave.
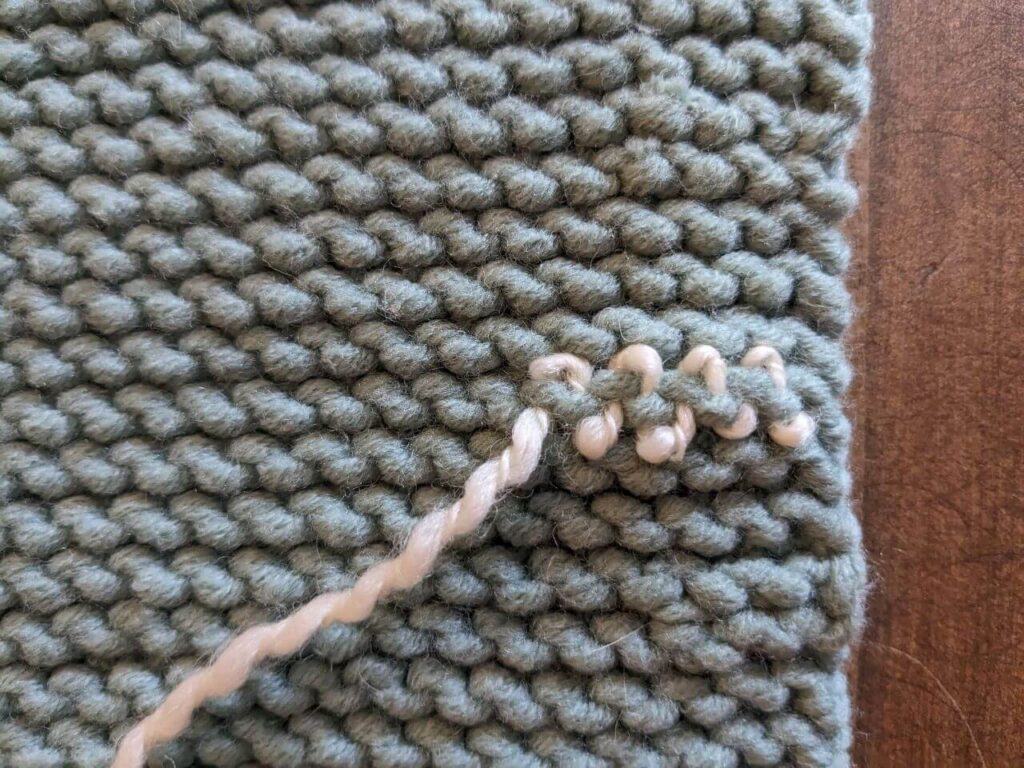
- Once you’ve woven in the desired length, you can add an extra level of security by reversing direction. Simply turn your work around and weave the needle back along the path you just created.
- Trim any excess yarn, leaving a small tail to allow for some shrinkage in the first wash.
Weaving in Ends on the Diagonal
If you’re feeling a little more daring or working with a more complex pattern, why not try weaving in ends on the diagonal? This method is like the zig-zag cousin of the edge-weaving process.
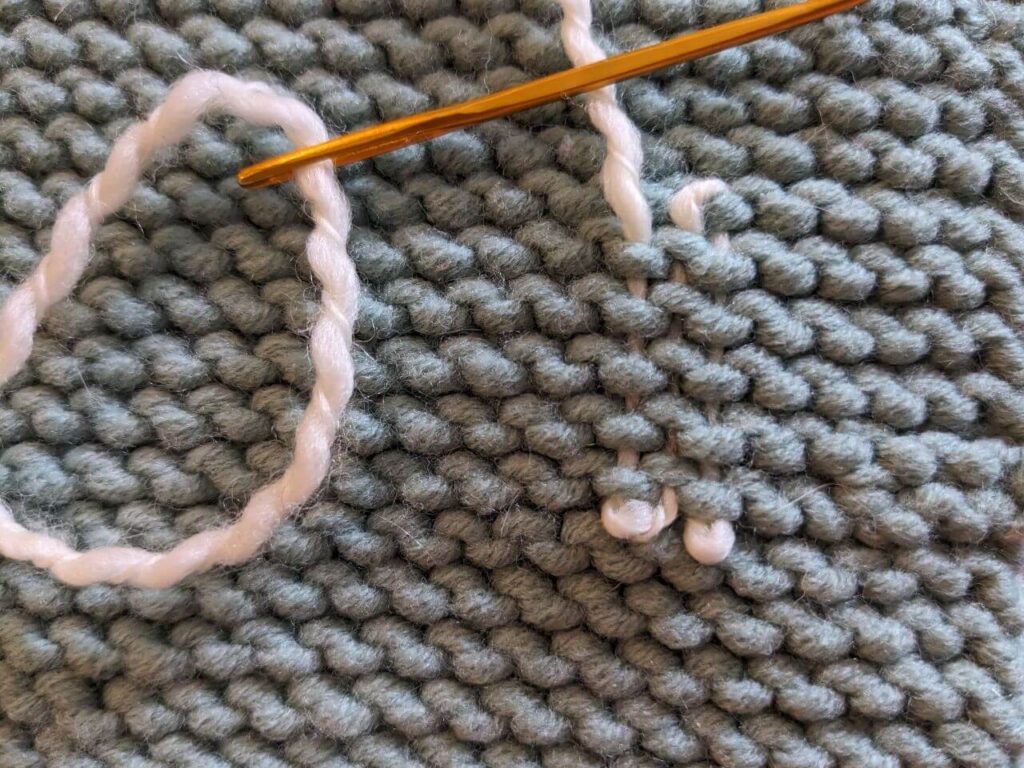
Again, thread your darning needle with the yarn end. Instead of following the straight path this time, let your needle take a diagonal journey. This makes the end less noticeable, as it mimics the natural movement of the knit stitches. Be sure to maintain the fabric’s elasticity and secure the end by weaving back on itself.
Remember, it’s not a race. Take your time to follow the stitches properly. The beauty of this method is that it can be used anywhere on the project, not just on the edges.
Here are the steps:
- As always, start by threading the yarn end onto your darning needle.
- Instead of moving horizontally or vertically along your work, you’ll follow a diagonal path this time. Identify the stitches that naturally move in a diagonal direction across your work.
- Slide the needle under the first stitch of this diagonal path, then move to the next stitch that continues in the diagonal direction.
- Keep going in this zig-zag pattern, weaving in and out of the stitches diagonally across your knitting. The woven yarn should blend in with the direction of your stitches.
- After weaving in a sufficient length, reverse direction to secure the yarn end, as with the edge-weaving technique.
- Trim the remaining yarn.
Weaving by Duplicate Stitching
This technique is a clever little chameleon, perfect for disguising ends within the knitting itself. In this technique, you’ll literally be duplicating the path of existing stitches with your yarn end. It’s like being a knitting spy, leaving no trace of your yarn ends.
Start by threading the yarn end onto your needle, then follow the path of the stitches in the row above the end. You’ll go under the two sides of the “V” of the stitch, then down into the center of the “V” below. It’s a game of follow the leader with your stitches! When done correctly, it’s nearly impossible to see where the original stitch ends and the woven yarn begins.
Here’s how to do it:
- Begin by identifying the stitch directly above where the yarn end emerges from your work.
- Insert your needle into the base of this stitch, coming out at the point where the stitch above begins.
- Now, trace the path of the stitch with your needle, going under both loops of the stitch above and then back down into the stitch below.
- Repeat this process, following the path of each stitch in the row. The yarn end should blend seamlessly into your work, essentially becoming a duplicate of the existing stitches.
- After tracing a few stitches, you can cut the yarn close to the fabric, as this technique is quite secure.
Weaving Ends in Horizontally
For those knitting projects where your work seems to stretch out in long rows, weaving ends horizontally is your ticket to neatness. This technique involves working your yarn ends back and forth through the same row of stitches, mimicking the row’s direction. It’s straightforward, easy, and perfect for beginners!
This method is as simple as it sounds, but following the stitches’ path accurately is crucial to avoid any visible deviations. Also, remember to keep the tension even to maintain the fabric’s drape.
Follow these steps:
- Start where the yarn emerges from your work. Insert the needle into the same row of stitches, going in the same direction as your row.
- Weave in and out of the stitches in a zig-zag pattern, following the path of your row horizontally across your work.
- After weaving for a sufficient length, you can reverse direction to secure the end, like in the previous methods.
- Trim the yarn end.
Weaving Ends in Vertically
For more vertical than horizontal projects, weaving ends vertically is your best bet. This technique involves following your stitches up and down, weaving your yarn end in a vertical path. Imagine climbing a ladder with your needle, going up and down through the legs of the stitches.
This is a great technique when your ends are in the middle of your work, and you need to ascend or descend to hide them effectively.
Here’s the process:
- Insert the needle into the stitch directly above or below the point where the yarn emerges, depending on whether you need to move up or down your work.
- Follow the path of the stitches vertically, weaving in and out of the stitches in a zig-zag pattern. Your needle should move up and down your work, mimicking a ladder.
- After weaving for a sufficient length, reverse direction to secure the end, as with the other methods.
- Trim the yarn end.
Tips for Weaving Ends
Weaving in ends in knitting can feel incredibly tedious, I know. But it’s essential for that sleek, professional look.
Now that you have a better understanding of how to weave in ends knitting, here are some down-to-earth professional knitting tips:
- Select the Right Needle: Your darning needle is your best friend in this process. Opt for one with a large eye, which will make threading your yarn much easier. A blunt tip is also beneficial as it will slip between your knitted stitches without splitting your yarn. I love the yarn needles with an angled tip to make this part easier. Different sizes of darning needles are available, so pick the one that works best with your yarn weight.
- Color Coordination Matters: When working on a multi-colored knitting project, always aim to weave the end into the same color section. This helps to camouflage the yarn end, making it virtually invisible. So, remember to save a bit of each color yarn for the weaving in process!
- Maintain Elasticity: One crucial factor to consider while weaving in ends is maintaining the elasticity of your knitted fabric. If you pull the yarn too tight, your fabric could pucker, but the end could pop out if it’s too loose. Aim for a happy medium where the woven-in yarn mimics the natural tension of your fabric.
- Take a U-turn: After you’ve woven in the yarn for an inch or two, it’s often a good idea to reverse direction and wind back the way you came. This “U-turn” technique makes it harder for the yarn end to work its way out of the fabric, especially when washing knitted sweaters and such.
- Leave a Bit of Tail: Once you’ve finished weaving in the end, it’s time to trim the excess. However, avoid cutting the yarn too close to the fabric. Leaving a small tail of about a quarter-inch allows the end to adjust. After the first wash or two, it will snug itself back in like a hibernating hedgehog.
- Mind the Fiber Content: Different types of yarn have different characteristics. For instance, slick yarns like silk or bamboo may require more weaving to stay secure compared to wool, which tends to “stick” to itself. Knowing your yarn and adapting your techniques accordingly will help ensure your ends stay put.
- Blocking Matters: If your project requires blocking (blocking knitting is a process to shape your finished work), weave in your ends before this step. This is especially important when wet blocking, as the water will help the ends to meld into the fabric, making them less likely to come loose later.
- Practice Makes Perfect: Weaving in ends is a skill; like any skill, it gets better with practice. The more you do it, the easier and quicker the process will become, and the more satisfaction you’ll get from your beautifully finished pieces. (Satisfaction is only one of the benefits of knitting!) So, don’t shy away from those projects with lots of color changes because they mean more ends to weave in.
Embrace the Weave
Weaving in ends knitting can seem as complex as knitting your first pair of socks, but remember, every master was once a beginner. Weaving ends is one of the easiest steps when learning how to knit! With these techniques and tips, you’re well on your way to creating neat, tidy knitting pieces. So next time you see those pesky yarn ends, you’ll know exactly what to do!
Don’t forget to follow me on social media to keep up with sewing and knitting tips and tricks!