Welcome to the world of sewing, where you’ll find a whole new language just waiting to be discovered. It can surely be a bit overwhelming when you’re first learning to sew, but don’t worry—I’ve got your back! Let’s break down some of the most common sewing definitions you’ll encounter so you can chat with fellow sewists like a pro in no time. And, oh yeah, you’ll also be able to understand your pattern’s directions!
Grab a cup of tea, get comfy, and let’s dive into the world of sewing lingo, shall we?
Why Sewing Definitions Are Important to Know
As with any hobby or vocation, sewing has several terms that are unique to the process. You do things in sewing that you don’t do in other activities. There are several reasons that it’s critical for new sewists to get the hang of the language.
- Get the hang of patterns and instructions — When you know sewing terms, you’ll be able to follow patterns, instructions, and tutorials way more easily. You’ll know what’s going on, and you’ll be less likely to make mistakes because you misunderstood something.
- Chat with fellow sewists — Knowing the lingo helps you talk to other sewing enthusiasts, teachers, or even the folks at the fabric store. You’ll be able to share tips, ask for advice, and feel like you’re part of the sewing community.
- Level up your sewing skills — As you get better at sewing, you’ll come across fancier techniques that need you to understand the terms. The more sewing definitions you know, the more you can learn and try out new things in your projects.
- Boost your confidence — When you know the sewing language, you’ll feel more confident about your skills. You’ll be able to tackle projects with a can-do attitude and trust in your abilities.
- Look like a pro — If you’re thinking about turning your sewing hobby into a job, like fashion design or costume making, knowing the terms is a must. It’ll help you work smoothly with others in the field and show that you’re serious about your craft.
Seam Allowance
Imagine you’re making a sandwich and need some wiggle room for the fillings. That’s exactly what seam allowance is in sewing! It’s the extra fabric you leave around the edge of your fabric pieces, giving you space to sew the pieces together without fraying the edges. Standard seam allowances range from 1/4 inch to 5/8 inch, but always double-check your pattern—some designers like to keep us on our toes!
When sewing a dress, the pattern may specify a 5/8 inch seam allowance. This means you’ll need to sew 5/8 of an inch away from the edge of the fabric, ensuring the dress pieces are securely stitched together without fraying the edges. But don’t worry; you won’t usually need to measure it out for yourself. Sewing machines mark the measurements for you right on the presser plate, making fabric placement super easy.
Bias
Picture yourself wearing a fabulous, flowy dress that drapes beautifully around your body. Chances are, it’s cut on the bias. The bias is the diagonal direction of the fabric, running at a 45-degree angle to the straight grain (which runs parallel to the selvage). Cutting fabric on the bias gives it more stretch and drape, perfect for those swoon-worthy garments that make you feel like a million bucks.
Of course, the way you position your fabric is just as important as choosing the right fabric type for your project. If you choose a heavy, thick canvas-type of material, it will never be a loose, flowy drape.
Selvage
Speaking of selvage, let’s add this to our sewing definitions next! The selvage is the factory-finished edge of the fabric that runs along the length of the material. It’s often tightly woven and may have some extra info printed on it, like the fabric designer or cute little color dots. You generally don’t use the selvage in your sewing projects, but don’t toss it out! It’s perfect for testing your stitch settings before diving into your precious fabric.
Before starting a sewing project, you can use the selvage to test your sewing machine’s tension settings and stitch length. This helps ensure your stitches will be consistent and well-adjusted for the main fabric.
Basting
Ah, basting—like a little dress rehearsal before the big sewing show. Basting is the process of temporarily stitching fabric together with long, loose stitches, usually done by hand or with a low stitch setting on your machine. It helps you test your project’s fit, positioning, or drape of your project before committing to the final stitches. And don’t worry, your basting stitches won’t steal the spotlight; they’ll be removed once your masterpiece is complete.
When fitting a bodice, you can use basting stitches to temporarily hold the pieces together, making it easier to adjust the fit and check the overall look before committing to permanent stitches.
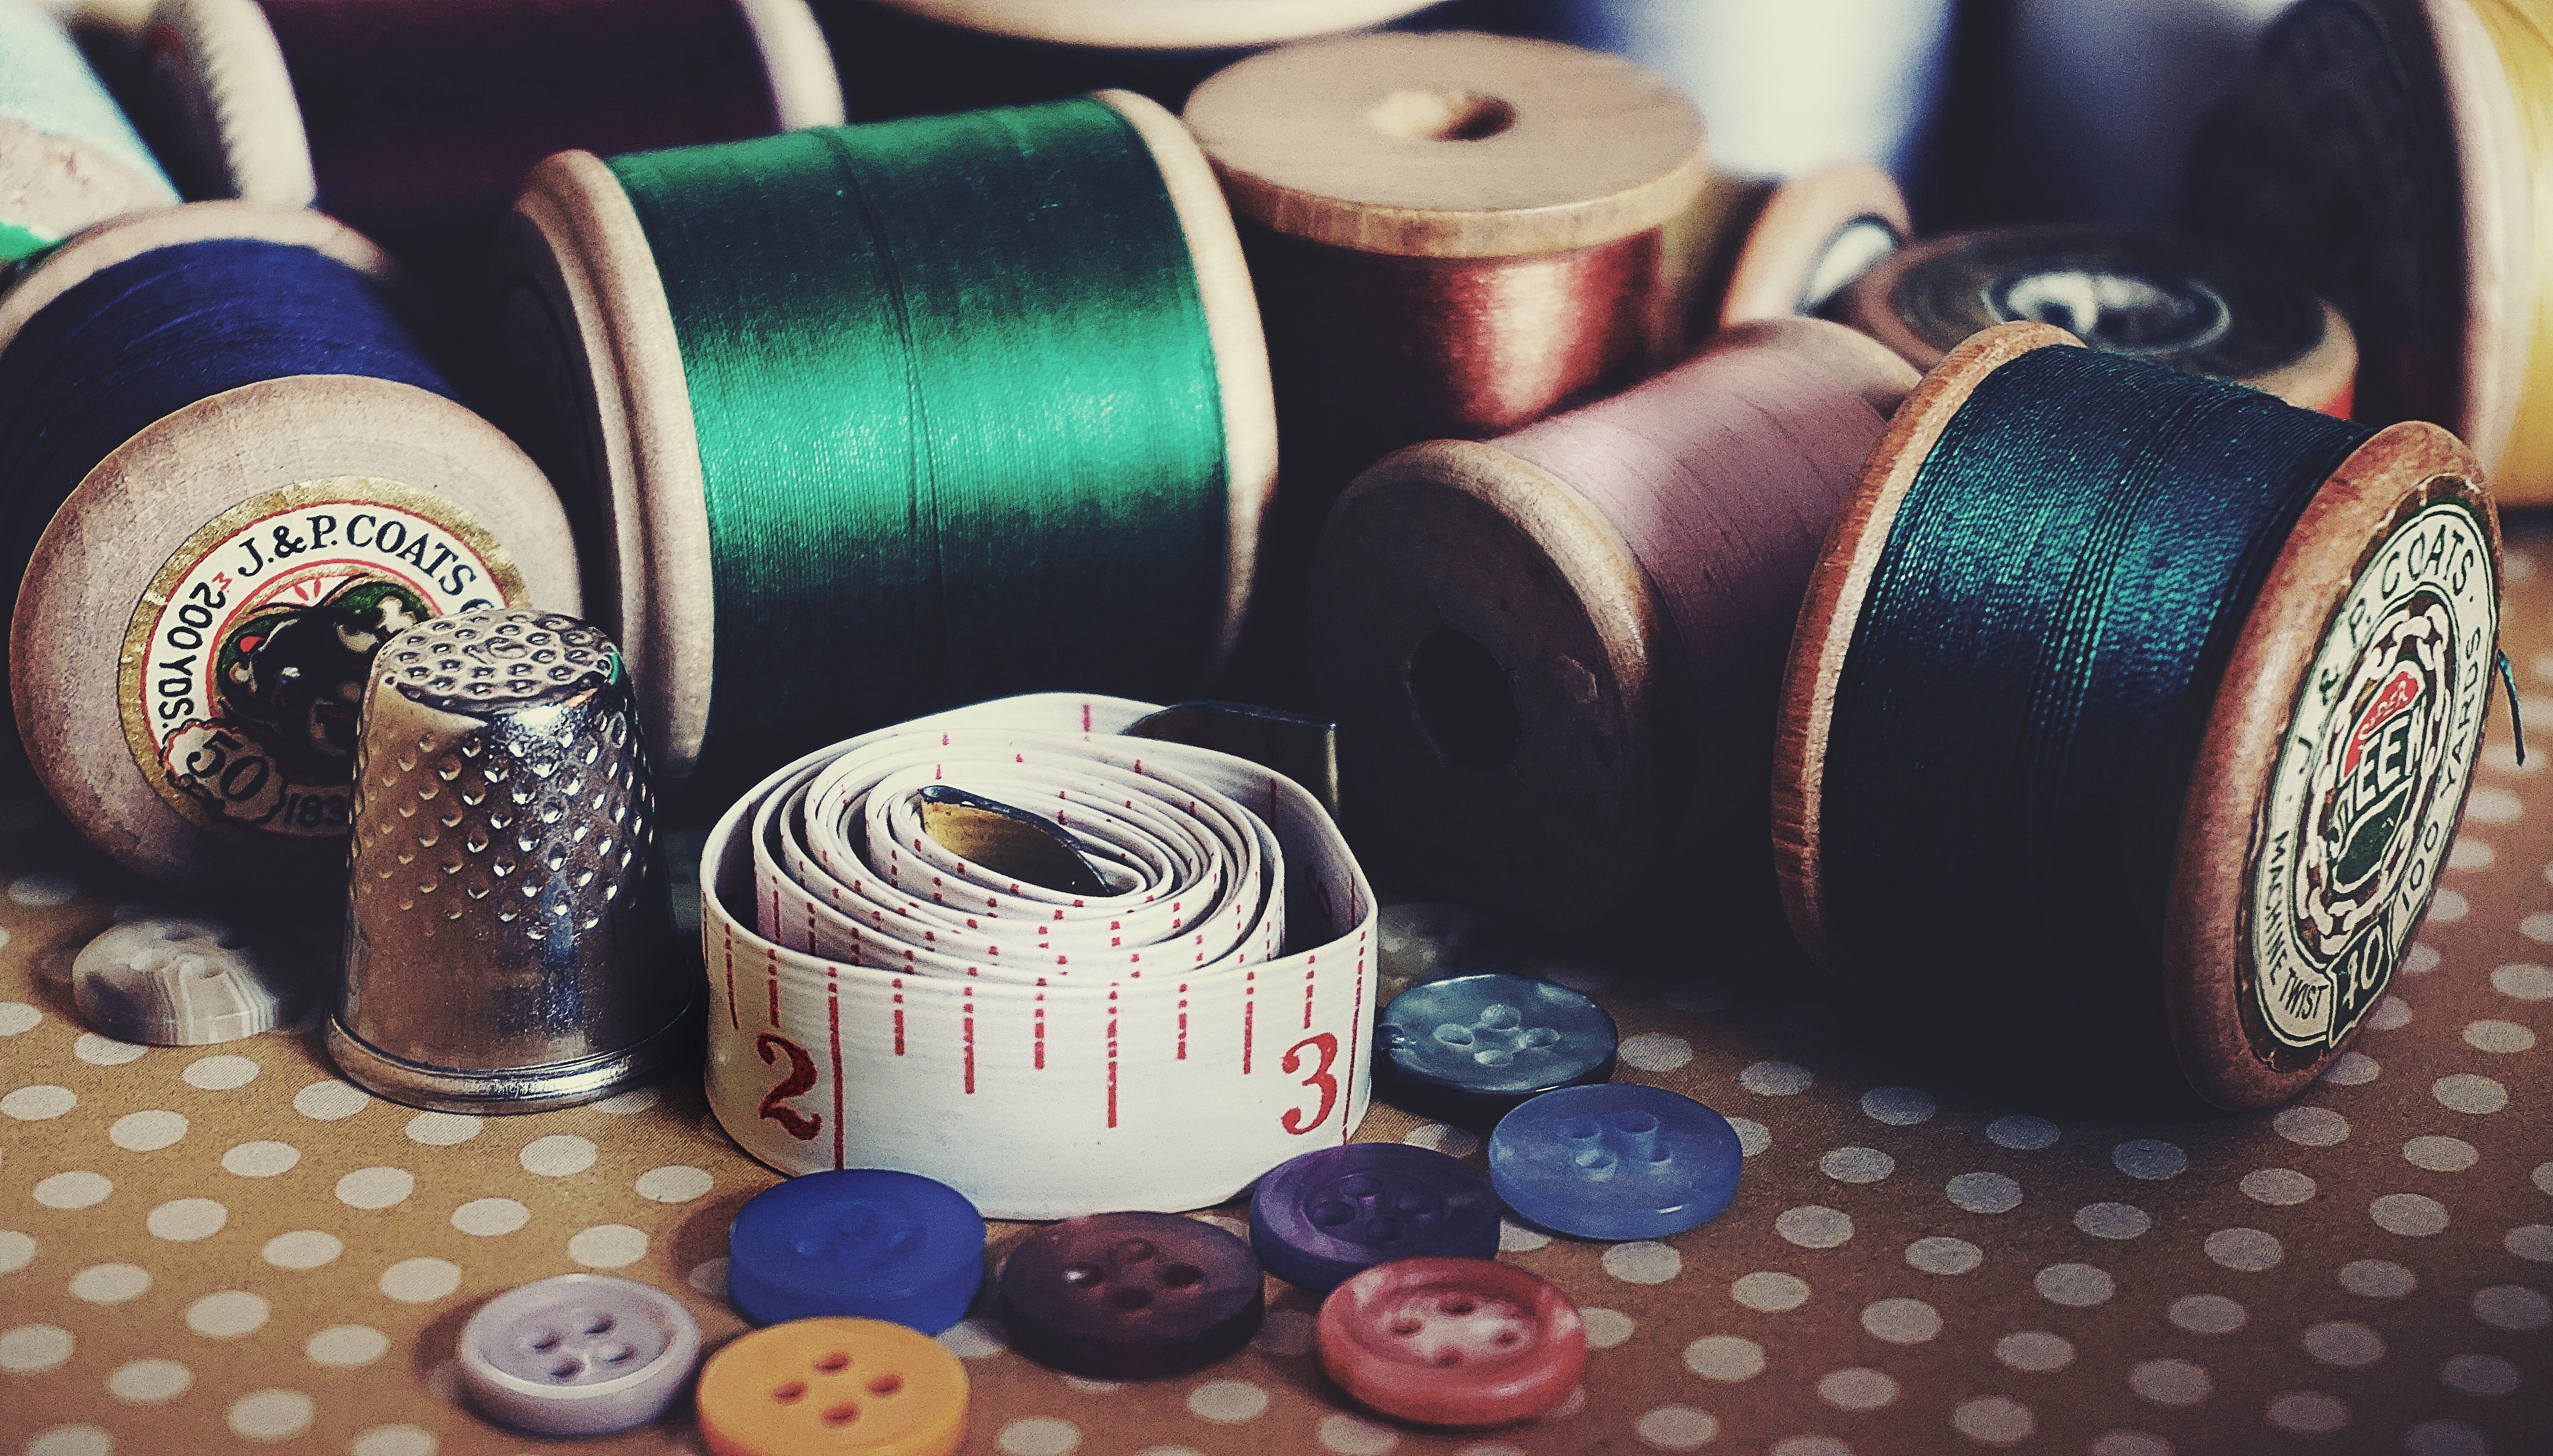
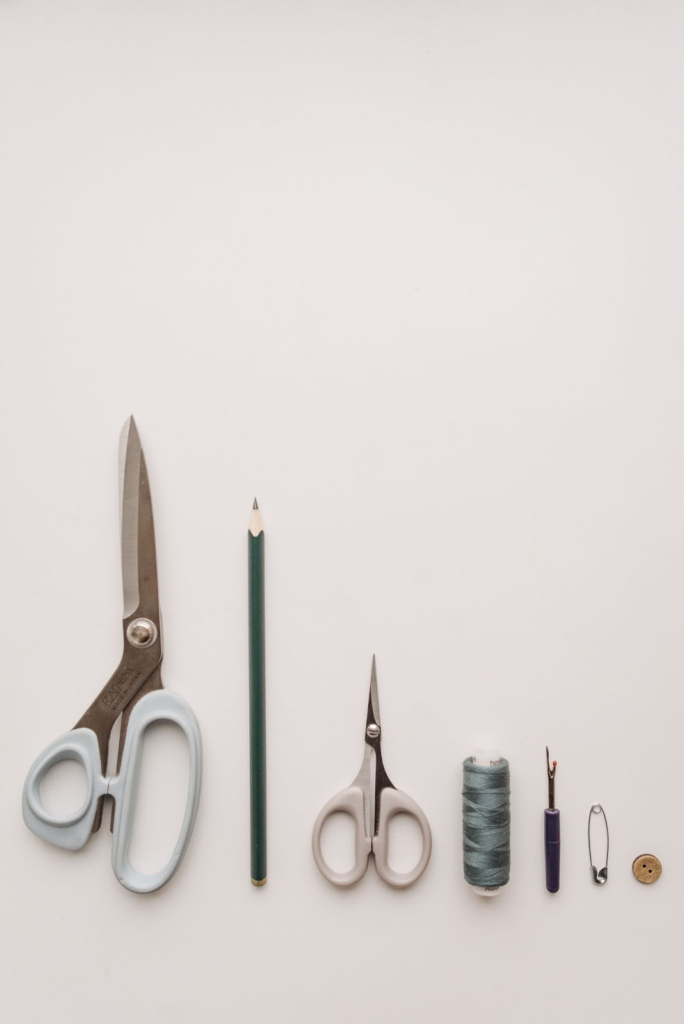
Notions
No, notions aren’t the little ideas floating around in your head (although, who knows what sewing genius you’ve got in there!). This is one of the most misleading sewing definitions, for sure. In sewing, notions are all the small, non-fabric bits and bobs that help you complete your project. These are the common supplies for sewing you’ll need to keep on hand for most projects. Think buttons, zippers, snaps, elastic, and even needles and thread. In the sewing world, notions are like the supporting cast, helping your fabric take center stage.
So, for example, when sewing a button-up shirt, you would need notions such as buttons, interfacing for the collar and button placket, and matching thread to complete the project successfully.
Presser Foot
Meet your sewing machine’s best friend: the presser foot. This little gadget holds your fabric in place while you’re sewing, ensuring it feeds evenly under the needle and doesn’t slip and slide around. There are many types of presser feet out there, each with its own unique talent—from zippers to buttonholes and even quilting. When sewing a zipper onto a garment, you would use a zipper presser foot, specifically designed to hold the zipper tape in place while you sew, ensuring a clean and accurate installation. But don’t worry; you don’t need to collect them all (unless you want to, of course!).
Backstitch
You know how they say to always make an entrance? Well, in sewing, it’s all about making a secure exit (and entrance, actually). The backstitch is a technique used at the beginning and end of your seams to lock the stitches in place, preventing them from unraveling. To backstitch on your sewing machine, simply sew a few stitches forward, reverse for a few stitches, and then continue sewing forward again. This little dance ensures your stitches stay put, so your fabulous creations don’t fall apart at the seams (literally!).
(Not sure how to make your machine do this? Get to know the parts of your sewing machine so you can understand how to do many of these functions!)
Topstitching
Sometimes, it’s all about the little details that give your project that extra oomph. Topstitching is one of those details. It’s a row of stitches sewn on your fabric’s right side (the pretty side), usually parallel to a seam. Topstitching not only gives your project a professional, polished look but can also help reinforce seams and keep edges crisp. So, go ahead, show off those stitching skills, and make your sewing projects truly top-notch!
Dart
Ever wondered how garments magically fit the curves of your body? The secret is darts! Darts are triangular fabric folds sewn into garments to help shape them to your body’s contours. They’re commonly found in areas like the bust, waist, and hips and help create a flattering fit that hugs your curves just right. Mastering darts is like unlocking the secret to sewing garments that make you feel fabulous—inside and out.
When sewing a fitted blouse, you would use darts at the bust and waist areas to create a more tailored fit, allowing the garment to conform to the wearer’s body shape.
Interfacing
Last but not least, let’s talk about the unsung hero of sewing: interfacing. It’s a supportive material (usually non-woven or woven) applied to the wrong side of your fabric, giving it structure and stability. Interfacing can help prevent stretching, add stiffness, and support areas that need a little extra love, like collars, waistbands, and button plackets. When constructing a structured handbag, you would apply interfacing to the wrong side of the fabric pieces, providing the necessary stiffness and support to help the bag maintain its shape. Think of it as the trusty sidekick that has your fabric’s back—literally.
And there you have it—ten standard sewing definitions demystified! So now you can navigate the world of sewing with confidence, and who knows, maybe even teach your friends a thing or two. At the very least, you won’t feel like you’re deciphering a new language when you pick up your next pattern!