Whether you’re a seasoned pro who can sew an evening gown blindfolded (please don’t try that at home), a curious beginner still trying to figure out what a bobbin is as you learn to sew, or somewhere comfortably in between, I’ve got something for you. This blog post will share professional sewing tips that will take your projects from ‘nice’ to ‘Wow, you MADE this?’
It doesn’t matter if you learned to sew because you find sewing clothes cheaper than buying them or simply enjoy creating. Learning to sew is a journey full of delightful surprises, a few frustrating knots, and lots of life lessons sewn between the seams. It’s an adventure that transforms a simple piece of fabric into something full of personality, charm, and functionality. However, the magic truly happens when you stitch in your unique touch, making the result not just a product but a reflection of your creativity.
But what sets a professional-looking piece apart from an amateurish one? It’s not just about having the fanciest sewing machine or using the most expensive fabrics. You must understand the basics and master them. It’s about learning, applying, and sometimes breaking the rules to discover new techniques. And that’s what this blog post is all about!
I’ve compiled a list of 13 professional sewing tips to help make your projects look high-quality, long-lasting, and durable. These tips span from machine maintenance to fabric types selection to the art of the perfect stitch. Not only will they help to enhance the visual appeal of your projects, but they will also ensure that they stand the test of time.
So, without further ado, let’s thread the needle and embark on this journey together. Unleash the power of your sewing machine, and let’s start stitching those dreams into reality!
1. Start With the Right Sewing Machine
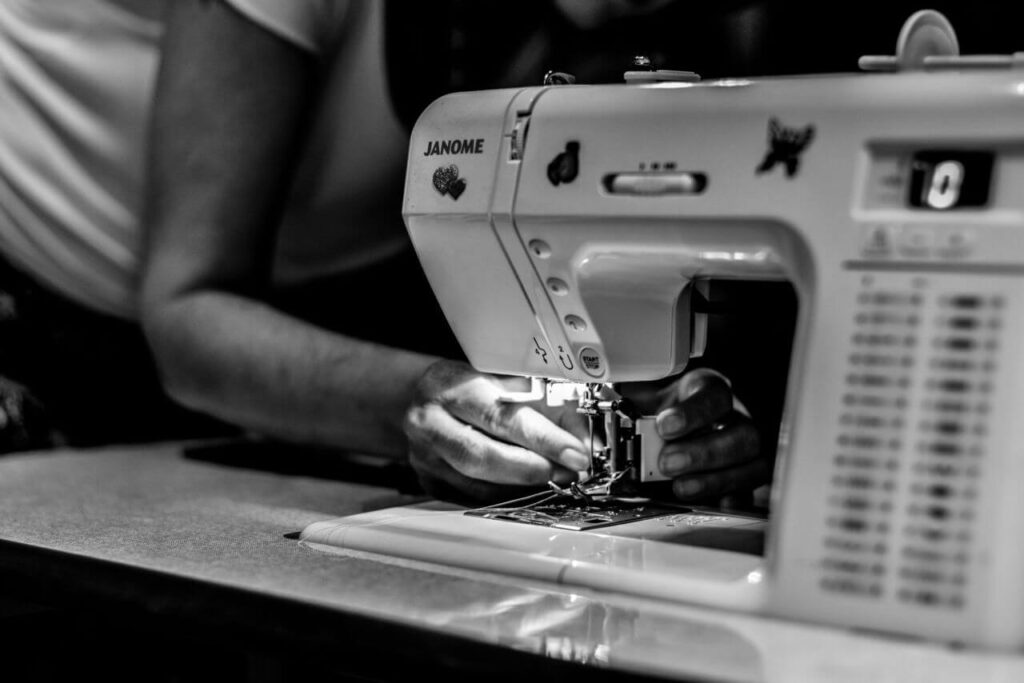
Think of your sewing machine as your loyal sidekick, helping you tackle any creative challenge. The right machine makes a world of difference in your sewing journey. It should be suited to your skill level and project requirements.
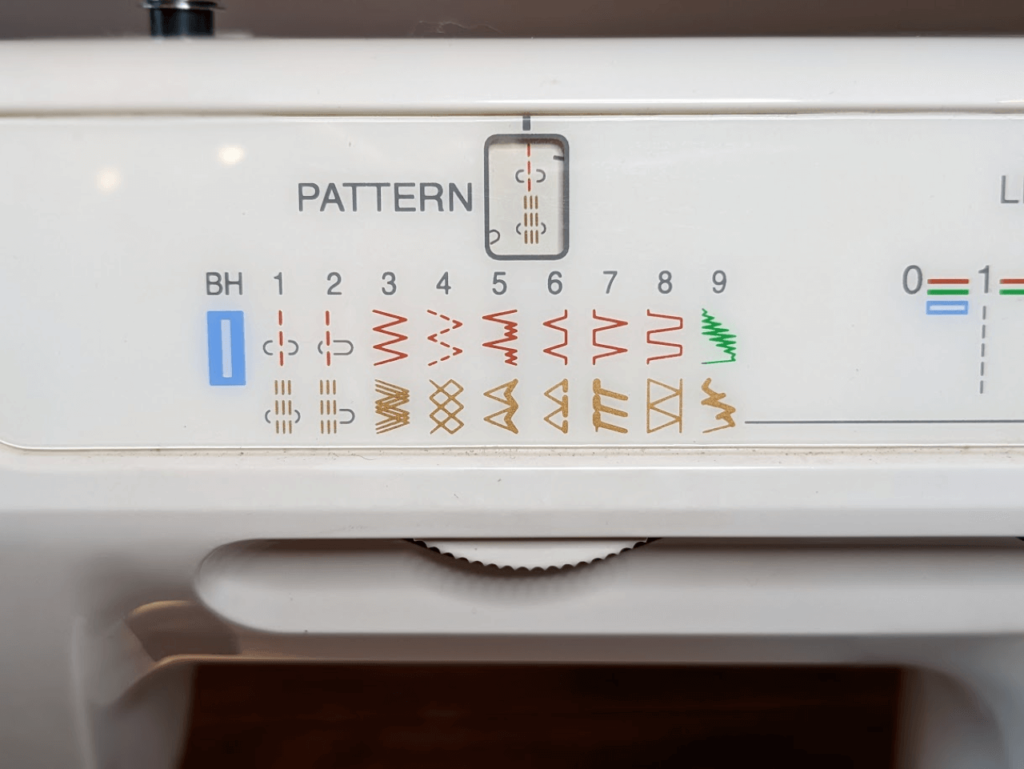
That doesn’t mean you need a crazy fancy machine with ALL the functions. A beginner might do well with a beginner’s sewing machine. It can be a basic model featuring straight stitch, zigzag stitch, and buttonhole options. More advanced sewists might need additional features like embroidery or overlock stitches.
Remember to consider factors like stitch speed, stitch variety, and ease of use. And don’t forget about maintenance! Regular tune-ups and cleaning parts of your sewing machine keep it running smoothly and ensure its longevity.
2. Take Classes Every Chance You Get

In the vast world of sewing, there is always something new to learn. Sewing classes are an excellent opportunity for both novices and experienced sewists to broaden their horizons, fine-tune their skills, and stay abreast of the latest trends and techniques. You can learn how to sew by hand or use a fancy sewing machine.
Classes are so valuable for many reasons. First, you get to learn from a seasoned expert who has been there, done that, and stitched the proverbial t-shirt. These teachers have a wealth of knowledge acquired over years of hands-on experience and are excited to share it with you. They know the common pitfalls to avoid, shortcuts to take, and can provide solutions to issues you may not have even thought of yet.
If you can’t find local classes (or your schedule doesn’t allow), online classes are the next best thing! You can find a huge variety that move at different paces and cover various topics. I love the Tilly and the Buttons workshops; they walk through creating the specific pattern with you!
3. Pre-wash Your Fabric

Pre-washing your fabric is one of those preparatory steps that might seem like a tedious extra chore. Still, it’s essential to ensuring the longevity and appearance of your finished sewing projects.
Fabrics, especially natural fibers like cotton and wool, tend to shrink when washed. If you skip pre-washing and sew your garment first, it might end up a size or two smaller after its first wash. Pre-washing helps you get the shrinkage out of the way before you start cutting and sewing.
Some fabrics, particularly bright or dark-colored ones, can bleed dye when first washed. If you’ve combined such a fabric with a lighter one in a project, the dye can transfer, ruining your project. Pre-washing can help avoid such color-bleeding disasters.
Read the care label before you toss your fabric into the washing machine. It will tell you the recommended washing temperature, whether or not to use bleach, and if the material should be machine-dried or air-dried. After washing and drying, iron your fabric to remove any wrinkles before you start cutting. This step ensures accurate measurements and a smoother sewing process.
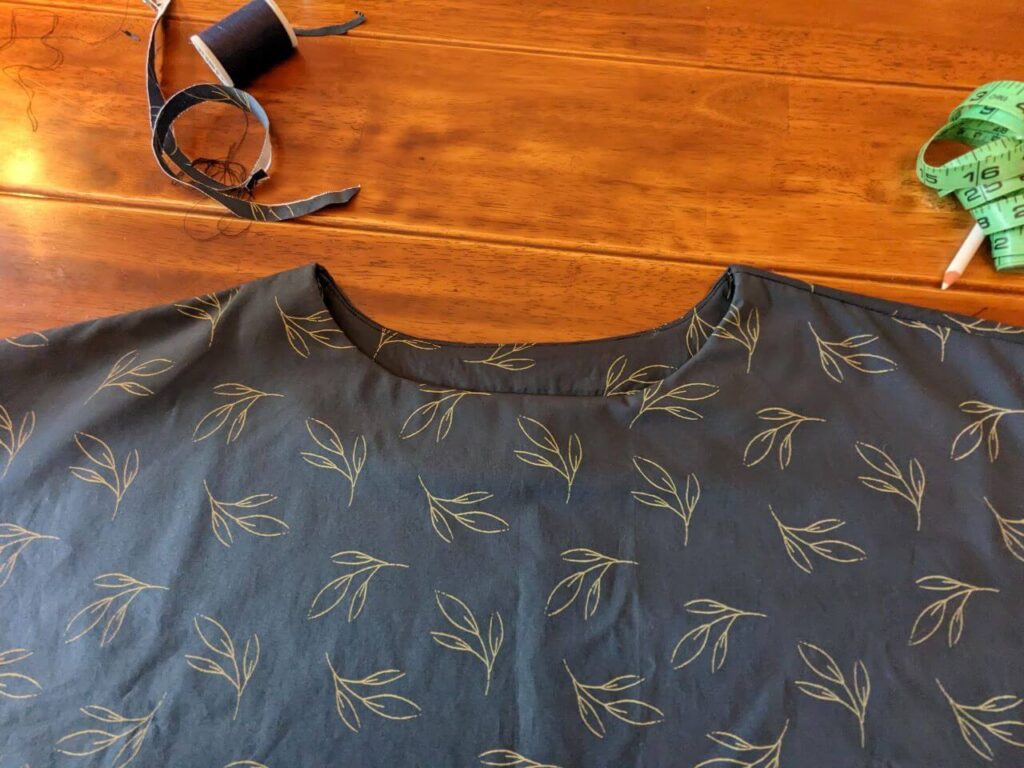
4. Match Thread Color to Fabric, Usually
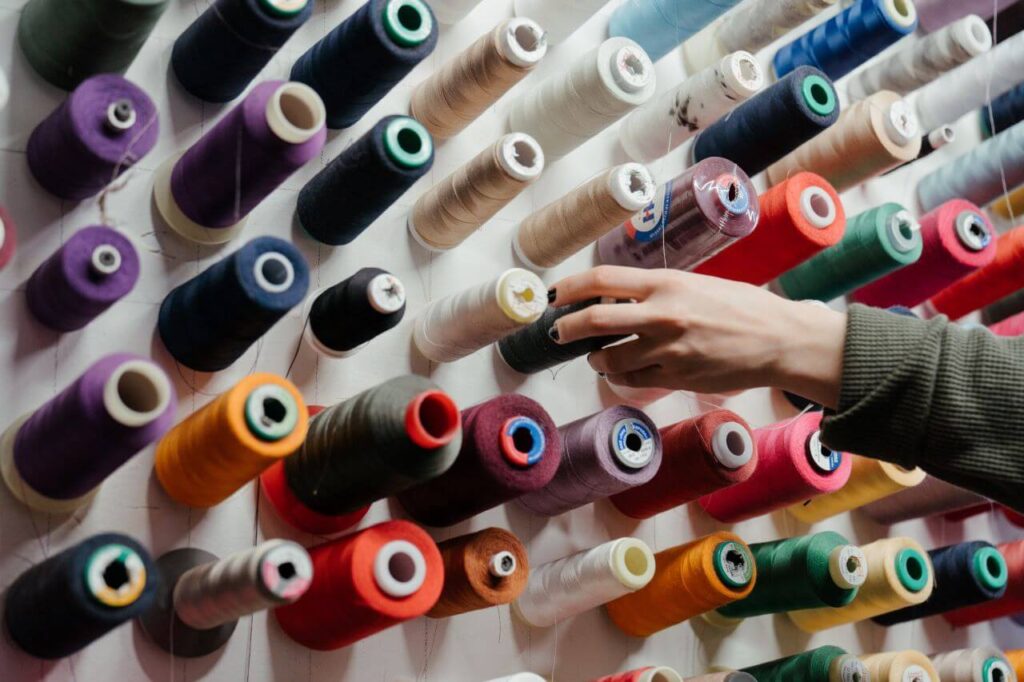
Choosing the right thread color for your sewing project is a detail that, while small, can significantly impact the final appearance of your piece. It can be the difference between a project that looks homemade and one that appears professionally sewn.
As a general rule of thumb, your sewing thread should match the dominant color of your fabric. When the thread color matches the fabric, the stitches blend in and become nearly invisible, allowing the fabric and design to take center stage.
Selecting the exact match can sometimes be challenging. Fabrics come in a myriad of shades, and thread manufacturers can only produce so many colors. If you can’t find an exact match, a good practice is to go for a slightly darker shade rather than a lighter one. Darker threads tend to blend better and are less noticeable than lighter ones.
Now, let’s address the “usually” part of our header. Sometimes, you might want to break the rule of matching thread to fabric. Using a contrasting thread can be a creative choice and add a unique touch to your project. It can highlight specific design elements, like topstitching, decorative stitches, or seam lines, adding depth and interest to your piece.
5. Don’t Skip Interfacing
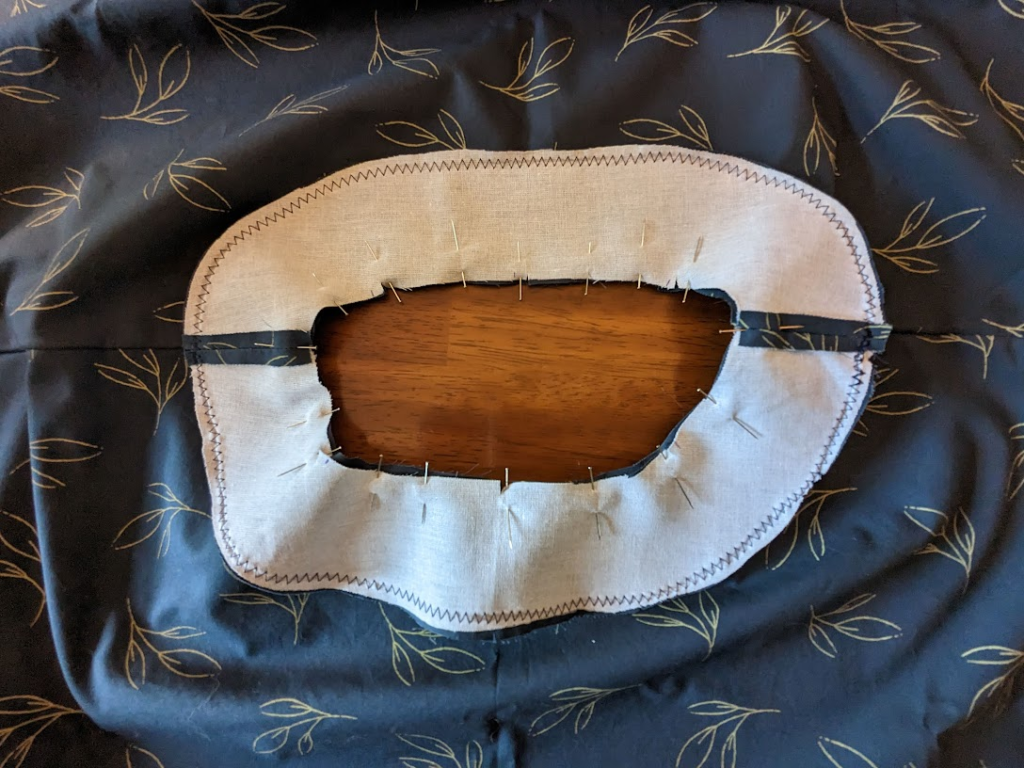
Interfacing is one of those unsung heroes in the sewing world that doesn’t get the attention it deserves. It’s hidden away, sandwiched between layers of fabric, quietly doing its job without any hint of its presence. Yet, this essential component plays a crucial role in shaping, strengthening, and giving body to your sewing projects.
Think of interfacing as the backbone of your project. Just as our spine provides support to our body, interfacing gives structure to certain parts of your garments. Collars, cuffs, waistbands, buttonholes – these areas need to retain their shape and withstand constant wear and tear. Interfacing strengthens these areas, helping them stay crisp and sharp and maintain their form even after many washes.
It might be tempting to skip interfacing, especially when you’re eager to finish a project. However, think of it as an investment in the durability and quality of your finished piece. Interfacing ensures that your projects don’t just look great when finished but continue to look great even after extensive use.
6. Mind Your Sewing Machine Tension
Sewing machine tension is one of those things that can seem a little intimidating, especially if you’re new to sewing. It’s that dial or knob on your sewing machine that somehow affects your stitches, but it’s not always clear how or why. However, understanding and correctly adjusting your sewing machine tension is crucial for achieving a high-quality, professional finish on your sewing projects.
Sewing machine tension is the balance between the upper (needle) thread and the lower (bobbin) thread. When the tension is balanced, your stitches are even and secure. The thread lays flat against the fabric without puckering or looping, and the seam is strong and durable.
However, when the tension is off, it can cause all sorts of sewing headaches. If the tension is too tight, it can cause the fabric to pucker, the thread to break, or the needle to bend or break. On the other hand, if the tension is too loose, you might see loops of thread on the fabric surface, the stitches can easily pull out, and the seam won’t hold securely.
7. Adjust Your Stitch Lengths
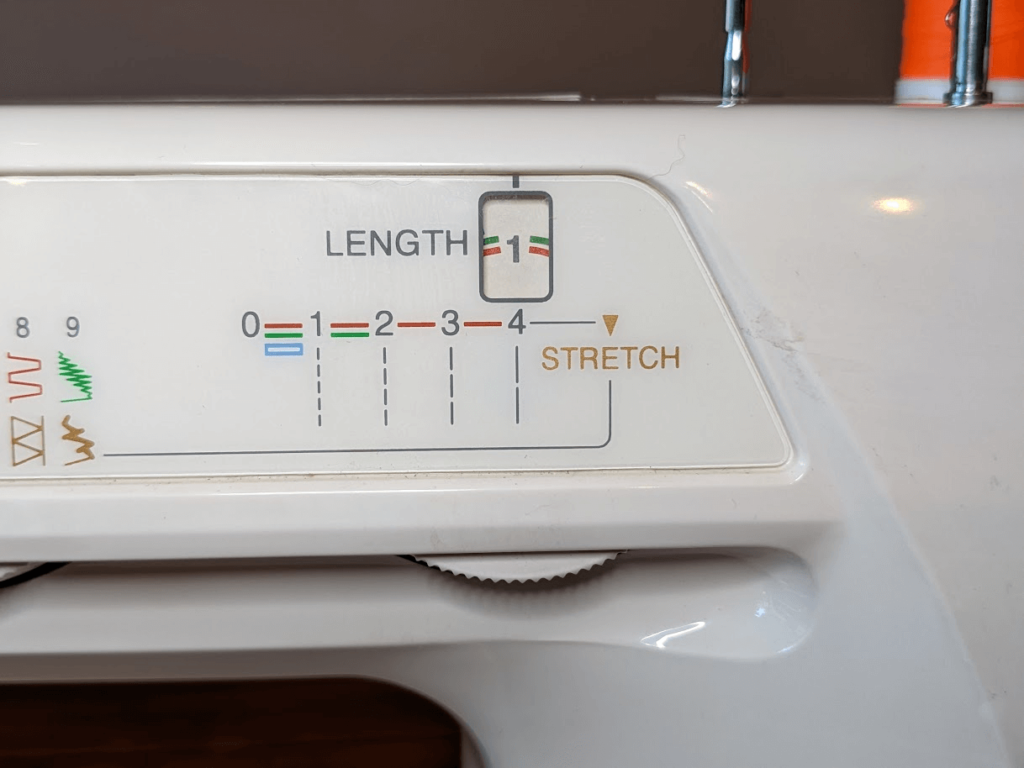
When it comes to achieving a high-quality, professional finish in sewing, one of the factors that often gets overlooked is stitch length. Like tension, stitch length can significantly affect how your finished project looks and lasts. It’s not simply a “set and forget” kind of setting; learning when and how to adjust your stitch lengths can considerably impact your sewing success. They don’t really teach you this when you learn how to read sewing patterns.
So, why is stitch length so important? Well, stitch length affects both the appearance and functionality of your seams. Different stitch lengths create various visual effects and levels of seam durability. The default stitch length on your sewing machine is generally set to a medium length (usually around 2.5mm), which works well for most medium-weight fabrics and general sewing tasks. However, different projects and fabrics require different stitch lengths for optimal results.
Another reason to adjust stitch length is to ensure seam strength. Shorter stitches create a tighter, stronger seam, which is especially useful in areas of a garment that experience a lot of stress, such as the crotch or underarm. But be careful – if stitches are too short, they can weaken the fabric by perforating it too much, which can cause it to tear.
8. Stay Stitching
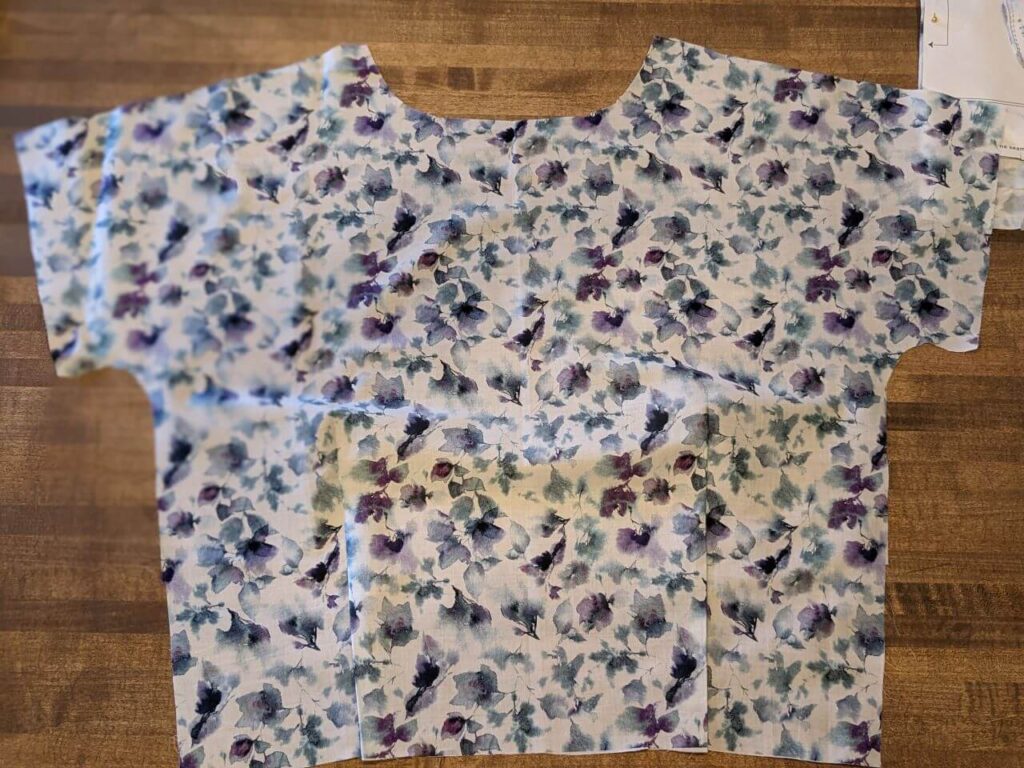
Ready for a sewing definition? Stay stitching is a straight stitch sewn through one layer of fabric. It’s often used on the edges of pieces to prevent them from stretching out of shape as you handle them during the sewing process. This is especially important for parts of your garment that need to retain their precise shape, like necklines, armholes, or any curve cut on the bias.
The thing about fabric is that it’s not just a flat, static medium. It’s flexible, moves, and can stretch, particularly along curves and bias-cut edges. Now, this inherent flexibility of fabric is what allows us to create garments that curve, drape, and fit beautifully. But it can also be a downside when those curves stretch out of shape, making it difficult to achieve a neat and professional finish.
That’s where stay stitching comes in. By stitching around the edges of your pattern pieces before you start sewing them together, you create a line of stability that helps the fabric retain its original shape. This ensures that your curves are still the correct size and shape by the time you’re ready to sew your pieces together, resulting in a better fit and a more professional finish.
9. Understitch Your Collars and Facings
One of the key secrets to achieving a professional, high-quality finish in your sewing projects is understitching. It’s an often overlooked technique, but it can make all the difference in ensuring your collars, necklines, and facings lay flat and look neat and tidy. Understitching can be your best friend in giving your garments that high-end, store-bought look.
So, what exactly is understitching? Understitching is a row of stitching done on a garment’s facing or lining side, very close to the seam line to prevent the facing or lining from rolling to the outside. It helps to keep these internal elements of your garment where they belong—out of sight, providing structure and finish without drawing attention to themselves.
Let’s take a collar as an example. After sewing the collar and turning it right side out, it’s easy for the underside of the collar to creep up and become visible from the right side. By understitching the collar, you encourage it to stay tucked under, providing a clean, sharp finish to the collar edge. The same goes for facings around necklines, armholes, and waistbands.
The process of understitching is relatively straightforward. After sewing your seam, you press the seam allowance towards the facing or lining. Then, you stitch through the facing and the seam allowance close to the seam (usually about 1/8 inch away). This keeps the seam allowance firmly attached to the facing, helping it to stay hidden inside the garment.
10. Finish Seam Allowances
Seam allowances are the extra fabric that extends beyond the seam line. Unfinished seam allowances can fray or unravel with wear and washing, leading to weak seams and a messy interior. Leaving them unfinished is one of the gravest common sewing mistakes. Therefore, finishing them is an integral part of garment construction, adding to its lifespan and giving it a neat, store-bought look on the inside.
There are several ways to finish seam allowances, and the method you choose can depend on the type of fabric you’re working with, the type of garment, and your personal preference. Here are a few common methods:
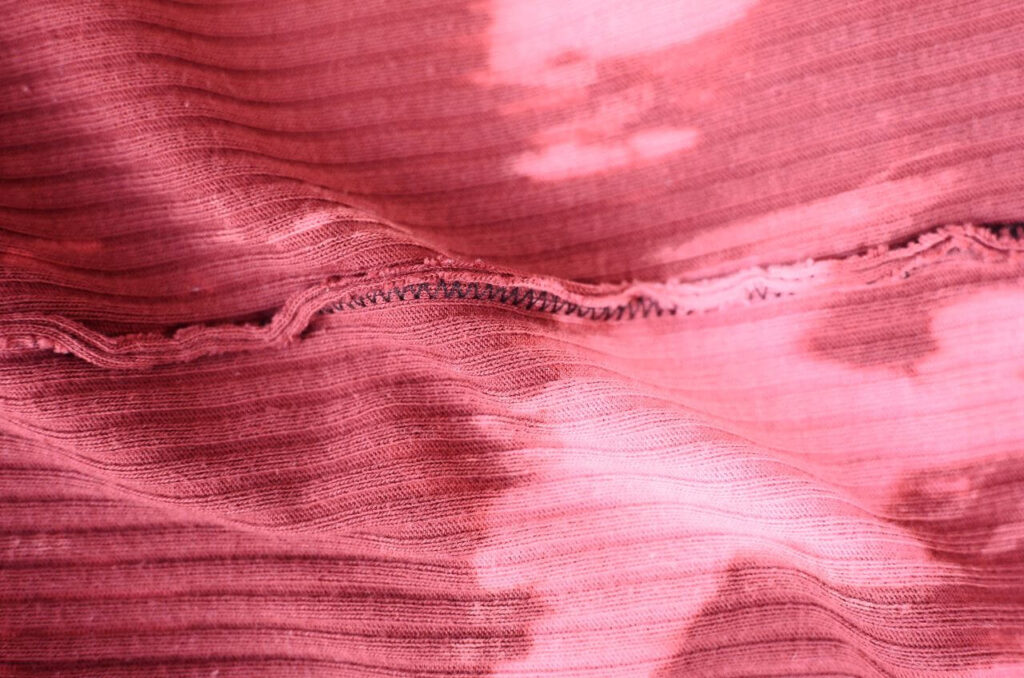
- Zigzag Stitch: Probably the easiest and most accessible way to finish a seam allowance is by using a zigzag stitch on your regular sewing machine. It covers the edge of the fabric and prevents it from fraying.
- Serging: If you have a serger machine, it’s a fantastic way to finish seams quickly and professionally. Sergers cut and finish seam allowances in one step, leaving a tidy, overlocked stitch.
- French Seams: A French seam encloses the raw edges of the fabric entirely within a neatly sewn seam. It’s a beautiful way to finish sheer or lightweight materials.
- Bound Seams: Binding seams with bias tape creates an immaculate and professional-looking finish, often found in unlined jackets or coats. You can include this in your list of supplies for sewing.
- Flat Felled Seams: Used frequently in jeans and men’s shirts, a flat felled seam is a durable and neat finish where the raw edge is completely encased.
11. Press Your Seams
So, why is pressing seams so important? When you sew a seam, the process of pushing a needle and thread through the fabric can cause distortion. This is especially true when sewing long seams or working with certain fabrics. Pressing your seams helps to mold the stitched material back into its original shape. It flattens the seam, making it less bulky and allowing it to blend more seamlessly with the rest of the garment. (The same goes when sewing darts!)
Pressing seams also helps in achieving more accurate sewing. It’s vital when matching seams or sewing pieces together; pressing ensures your fabric lies flat and is less likely to shift or become misaligned. Moreover, it helps you see and fix potential issues, such as puckering or misalignment before they become more challenging to correct.
How to Press for High-Quality
But how should you go about pressing your seams for the best result? Here are a few guidelines:
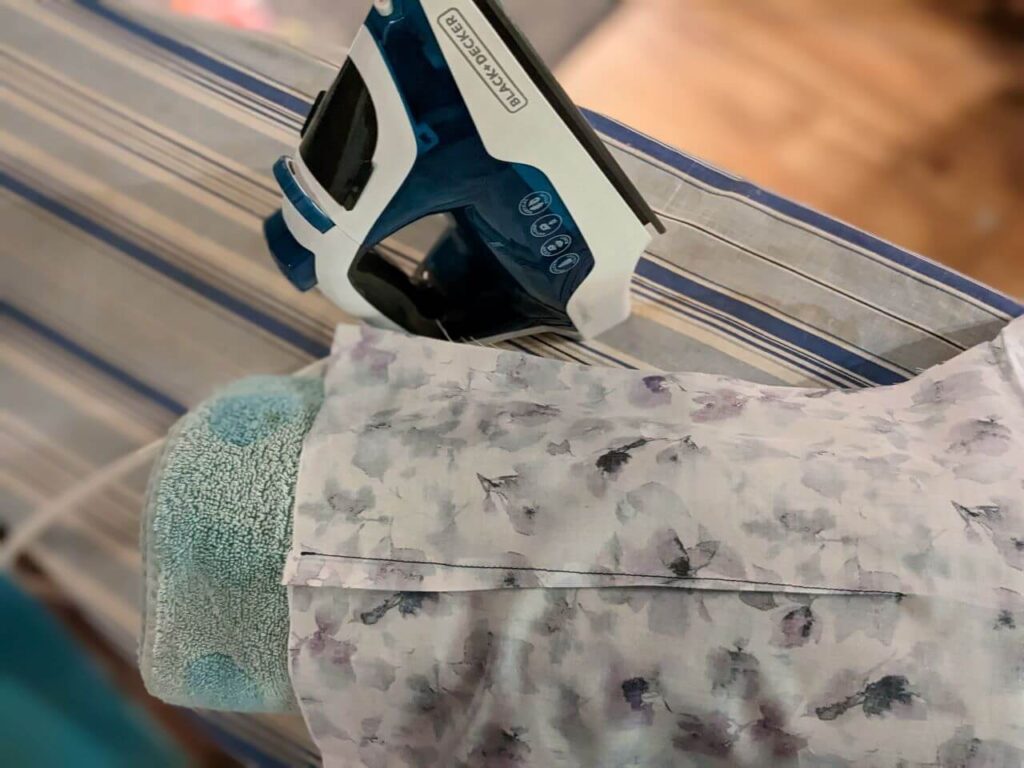
- Use the right tools: A good-quality iron and an ironing board are essential. A tailor’s ham and a seam roll are also useful for pressing curved seams or seams in hard-to-reach places. Using pressing cloth is also advisable to protect delicate fabrics from direct heat.
- Press as you go: Don’t wait until the garment is finished to press your seams. Press each seam after you sew it before you cross it with another seam.
- Press correctly: Start by pressing the seam flat as it was sewn to embed the stitches. Then, open the seam and press it open from the wrong side. Finally, press again from the right side.
- Be mindful of the fabric: Adjust the heat of your iron based on your material: one of the many sewing safety rules. Delicate fabrics need a lower heat setting and often benefit from a pressing cloth, while heavier fabrics can handle higher heat.
12. Wide Hems
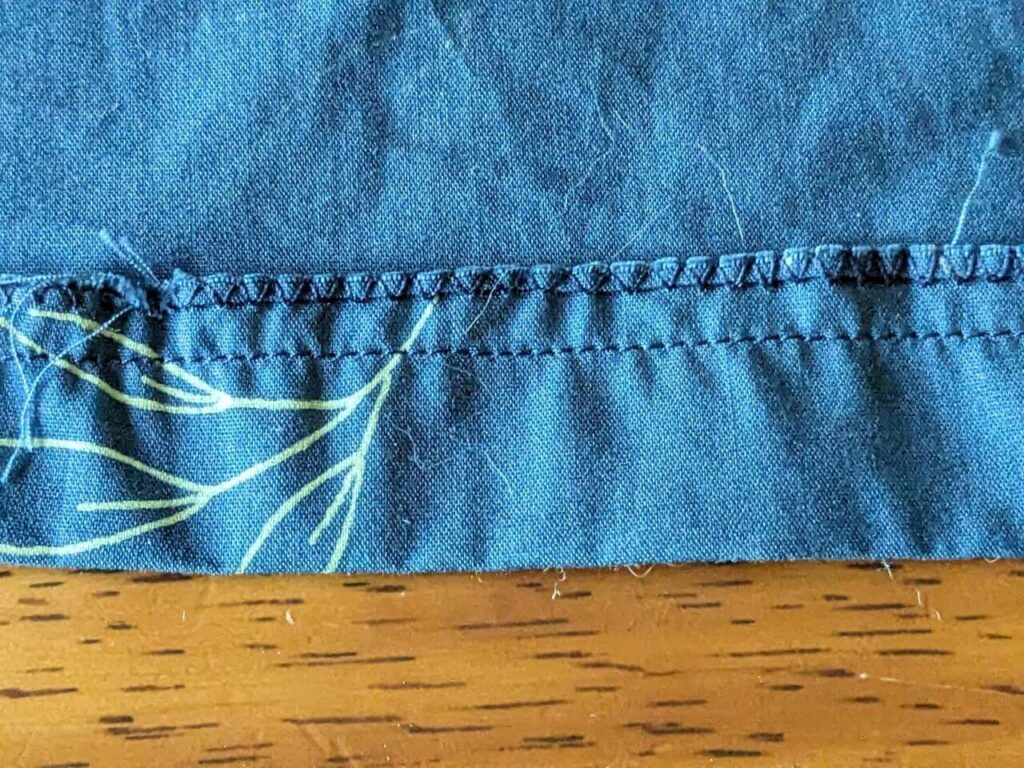
The term ‘hem’ might bring to mind the bottom edge of a garment, but hems can actually be found on any edge that needs a neat finish – sleeves, necklines, even pockets. One of the secret ingredients in making your sewing projects look more professional and long-lasting is the use of wide hems.
Wide hems create a feeling of quality and durability that can’t be achieved with a simple narrow finish. You often find wide hems in high-quality, professionally made garments. They provide weight to the garment, allowing it to hang and drape more beautifully. It’s a small detail that can make a noticeable difference in the overall appearance of a garment.
Additionally, wide hems can also add longevity to your sewing projects. Consider a skirt or a pair of pants – the bottom edges of these garments go through a lot of wear and tear. A wide hem allows for adjustments to be made down the line, whether for changing trends or changes in the wearer’s height (especially important in children’s clothing).
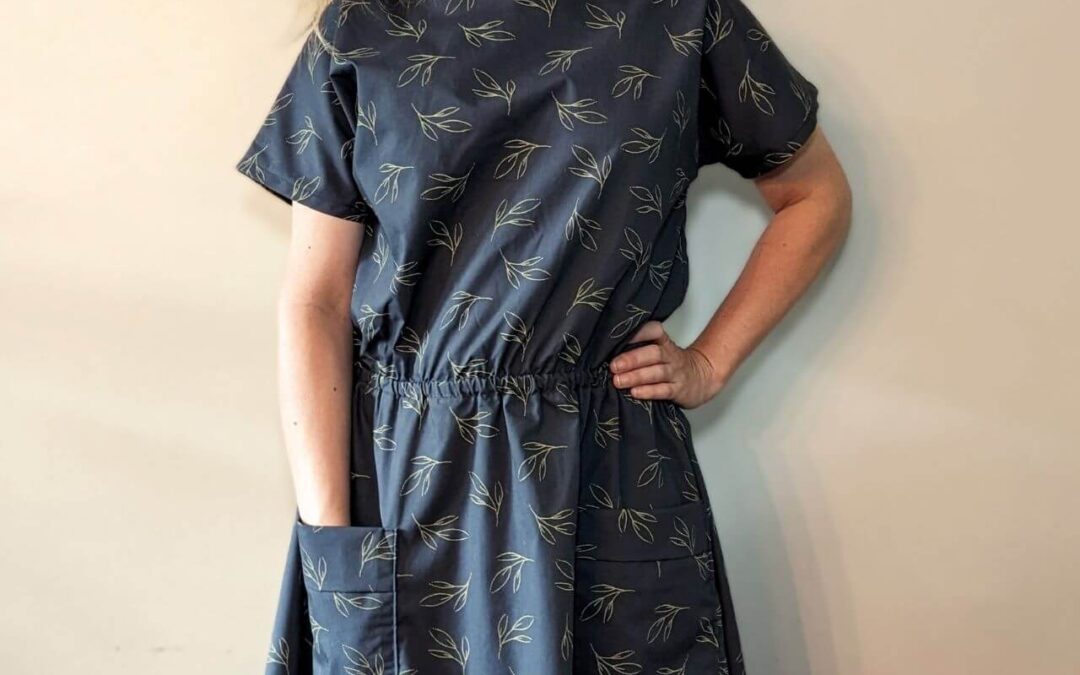
13. Use Wide Elastic
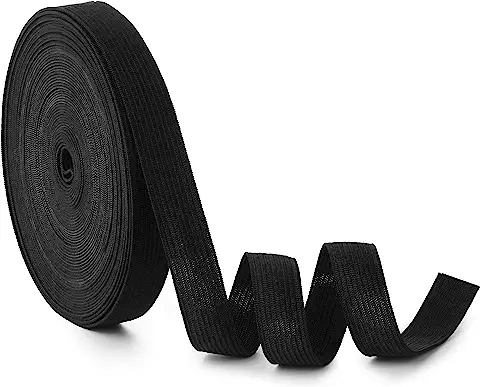
First and foremost, wide elastic offers superior comfort. It distributes the gathering evenly, avoiding the “cutting in” effect you might experience with narrower elastic. This is particularly important in waistbands, where comfort is key. Imagine wearing a skirt or pair of pants with a wider elastic waistband – you’ll likely find it sits comfortably without creating undue pressure or discomfort.
Secondly, wide elastic tends to twist and roll less within casings. There’s nothing more frustrating than a waistband or cuff where the elastic twists and turns after a few wears or washes. Wide elastic holds its shape and position better, ensuring your garment maintains its intended fit and finish over time.
Durability is another important factor. Wide elastic is typically stronger and lasts longer than its narrower counterparts. It withstands repeated use and washes better, contributing to your garment’s overall longevity.
In terms of aesthetics and design, wide elastic can also offer a more polished, professional finish. It creates a smooth, flat appearance, minimizing bunching and puckering of the fabric. Plus, it opens up design possibilities – think of exposed elastic waistbands seen in sports luxe styles or children’s clothing. Wide elastic is not just functional but also a stylish design feature!