How often have you seen a piece of clothing in a show or magazine that you wished you could make your own sewing pattern for? If you are anything like me, quite frequently! It isn’t always cheaper to sew your own clothes rather than buy them. However, knowing that these clothes are typically quite pricey, sewing them myself is the best way to incorporate these beautiful clothes into my wardrobe.
Designing your own sewing patterns can be fun and rewarding, but making your own sewing pattern is undoubtedly an intimidating prospect. However, with a bit of creativity and some basic knowledge of patternmaking, you can create unique designs that are perfect for your personal style. Thankfully, making your own basic pattern is pretty straightforward.
Start With a Basic Sketch of Your Pattern
Before you begin, it’s helpful to start with a basic sketch of the garment you want to make. This will help keep all the pieces organized as you go, reminding you of design details while guiding you through the construction process.
Don’t worry if you’re not an artist – scribble sketches are often enough for you to conceptualize the garment. I once took a costume design course in college; my drawings were laughable, but I had too much fun to be embarrassed by them.
You can even find excellent tutorials online or in books that provide diagrams, patterns, and templates so that getting started on your project can be a breeze.
Use a Well-Fitting Garment as a Template to Make Your Own Sewing Pattern
I’m going to teach you a simple shortcut for making basic sewing patterns for most garments: find a similar article of clothing that fits you perfectly and use it as a template.
This way, you don’t have to worry about taking your measurements and figuring out how to translate that onto a pattern sketch on paper, only to end up with something ill-fitting.
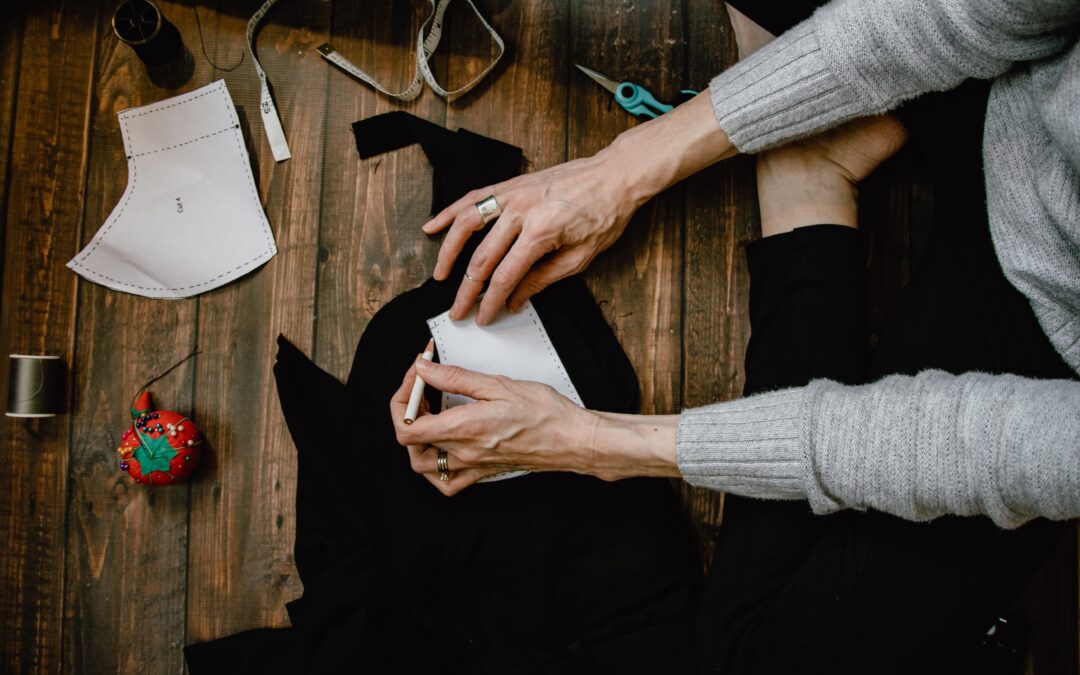
Craft paper (or muslin fabric) can be really helpful in tailoring clothing. Tracing the outlines of your desired garment onto one of these two mediums allows you to transform a drawing into a perfectly fitting piece of clothing.
Start with Your Paper
Get a large sheet of craft paper or cut a swath of roll paper; make sure it’s larger than the garment you’re designing. Fold it in half vertically. Lay your paper on a hard, flat surface. Your dining room table or even your floor work!
Trace Your Garment
Grab your clothing item and fold it in half lengthwise. Pin the two sides together to keep them in place. Next, lay the folded edge of your garment against the folded edge of your paper. Now pin the garment directly to the paper to prevent it from slipping out of place while you work. That’s a quick way to mess up your proportions!
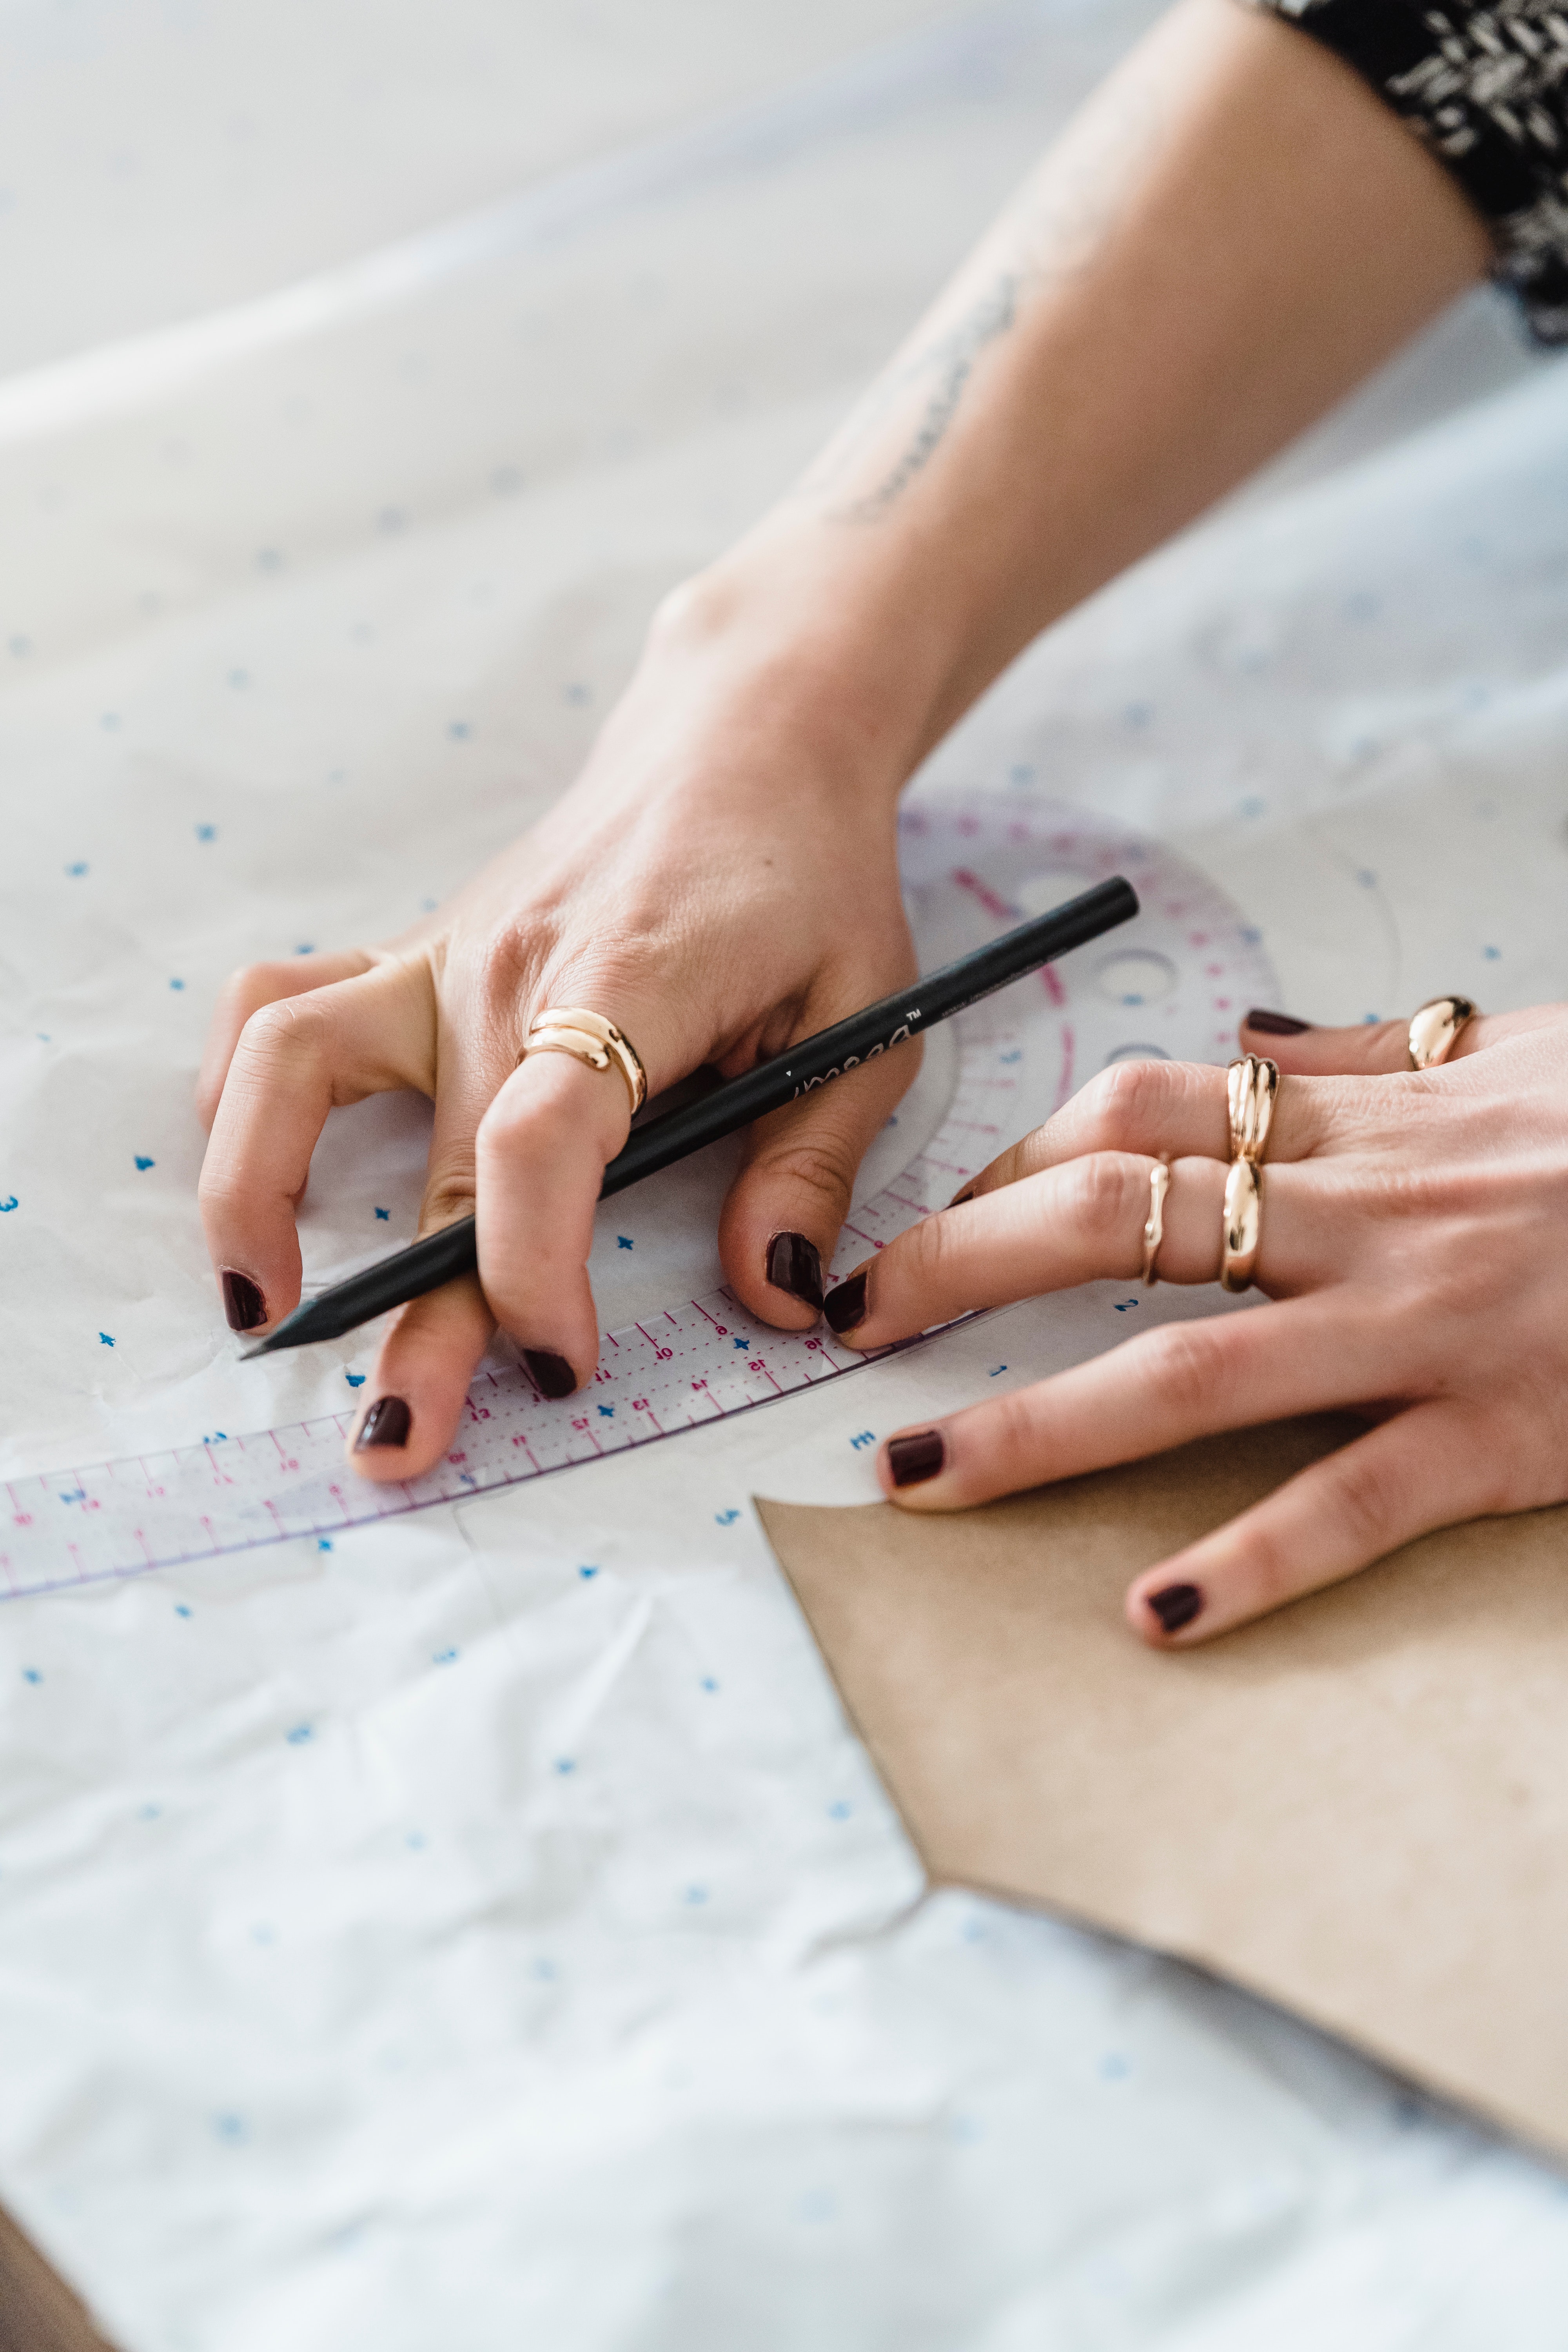
Trace the outline of your garment onto the paper. I prefer to use markers because they glide smoothly and make tracing simple.
This next step is critical to ensure your finished garment isn’t too tight. Using a different color marker (for clarity’s sake), trace around the outside of the lines you just drew approximately ½” all around, except on the fold. This will be your seam allowance. Without it, your finished piece will pull and tug on you weirdly.
Flip the garment and repeat the process on another piece of paper. This will be the back half of your project.
Making Your Own Sewing Pattern: Shirt
If you are making a shirt or a dress, fold the sleeve toward the middle, along the seamline. Pin it out of the way before you trace—mark where the front neckline is.
After you’ve traced the front and back pieces, don’t forget to include the sleeves. On a separate sheet of folded paper, lay the sleeve along the fold. You can play with the length here since making it longer or shorter will be easy.
For the shoulder, flip the sleeve out of the way and trace the edge where it meets up against the shirt. Here’s the tricky part: that isn’t the line you’ll actually cut. Instead, after you’ve traced that seam, take your marker and create a large S shape from the underarm (lowest point) to the top of the shoulder (highest point). Make a dot one inch below the center of this line.
Don’t forget to leave your ½” seam allowance!
Making Your Own Sewing Pattern: Pants
If you are making pants, be sure that only the top part of the pants is along the fold of the paper, and the legs are slightly moved away from it.
Cut and Label the Traced Pattern Pieces for Making Your Own Sewing Pattern
Cutting out pattern pieces from the outlined shape is a tedious task, but it’s an essential step in the sewing process to create your finished project. Once each piece is cut, label them accordingly with their name and number, which helps later when assembling the garment. It may sound unnecessary at first, but it can help ensure all the pieces are put together in the proper order and that your final product looks just as you envisioned.
Remember to keep the paper folded so you don’t accidentally cut your pattern in half. Then, once they are all cut out, open them up flat and put them in order. And cut on the outer line to keep your seam allowance in place!
After You Make Your Own Sewing Pattern, Then What?
Congrats! You made a sewing pattern! But, of course, that’s not the end of the project, now is it? It’s time to put that baby together.
Take a deep breath!
Use Your New Pattern Pieces to Cut Your Fabric
Once you’ve finished drafting your new pattern pieces and making the necessary adjustments, it’s time to grab your fabric! It can be daunting when you finally cut into that freshly purchased material, but it’s all part of the creative process. And with your own customized pattern pieces in hand, now you can bring your vision to life. So lay it out there, put on those fancy scissors, and make sure everything is adequately pinned – because it’s cut-out time!
Sew Your Garment
With so many pieces of fabric, it might feel overwhelming when sewing a garment together. But even with the most complicated project, things become much easier when you take it one step at a time.
You know how all the pieces fit together since you copied them from your original garment. Now you just need to line them up and put them together how they belong. Then, pin each piece to the next one to ensure you’ve got everything where you need it to be.
Congratulations!
Making a pattern for your own clothing may seem intimidating, but it’s a gratifying and empowering experience! Every step of the process is something to savor, from finding a template you can use as a starting point to testing out new color combinations with fabric swatches. With some patience and creativity, you’ll be on your way to creating your own unique pieces that fit you like a glove. Finally, after much hard work, you’ll have a piece of clothing you love – and hopefully have gained the knowledge and confidence to tackle more complex items down the road. Happy patterning!