
Have you ever been inspired to break out your sewing machine, only to be intimidated away because you don’t know how to read sewing patterns? Been there! Sometimes I’ve felt like sewing patterns are maps without a key to guide me.
So, let’s create a map key right now! Reading a pattern is an essential skill in sewing; you aren’t likely to get far in your sewing without learning how. Maybe you’re just starting to learn to sew, or you’re experienced, but it’s been a while. There’s never a bad time to brush up.
In this guide, we’ll dive deep into the world of sewing patterns, breaking down their components and unraveling their mysteries.
Decoding the Envelope: The First Step in How to Read Sewing Patterns
To grasp how to read sewing patterns, you’ll first need to understand what’s on the envelope. The envelope of a sewing pattern is akin to the cover of a book, giving you a preview of the story inside.
Front of the Envelope
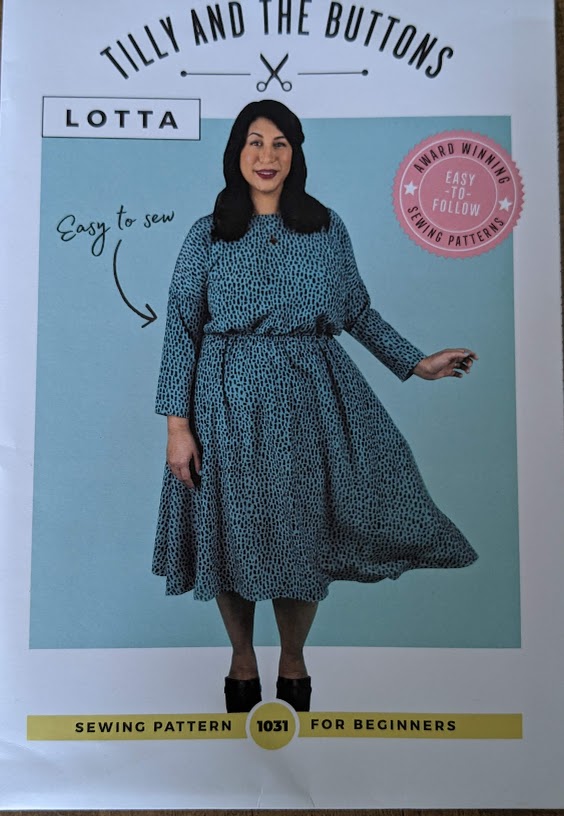
The front of the envelope typically features a picture of the end result of that pattern or a sketch of the final garment or item, often in various styles or versions. These visuals can give you a sense of the possibilities that lie within and inspire you to imagine how your finished piece might look. The pictures aren’t just there for inspiration! Many sewing patterns offer variations on a garment, all contained within one envelope. So, you can use the basic pattern to make a few different fashions from one single pattern.
Back of the Envelope
On the flip side, you’ll find a wealth of information vital to your project’s success. The back of the envelope houses crucial details like the suggested fabrics, size charts, required notions (supplies for sewing, such as buttons, zippers, or elastics), and yardage requirements. The fabric types recommended can greatly influence the drape and fit of your final garment. The notions listed are the extra items you’ll need to complete your project. You can use the sizing chart to help determine how much fabric you need to purchase. Also, on the back is a diagram showing the layout of the pattern pieces. You can visualize how to fit the pieces together, like a jigsaw puzzle.

Inside the Envelope: Instructions and Pattern Outline
The next stage in our quest to understand how to read sewing patterns takes us inside the envelope, where you’ll find the instructions and the pattern tissue or paper. This is where all the juicy information resides!
Sewing Instructions
The instructions included with a sewing pattern are your roadmap, guiding you step by step from the initial fabric cutting to the final stitch. These instructions often include diagrams or illustrations to help clarify each step visually.
Reading the instructions is like following a recipe. They’ll guide you step by step, from cutting your fabric to the final stitch. Pay close attention to the suggested order of construction and any specific techniques recommended. Working out of order can cause issues further along.
One crucial detail to note is the seam allowance – the distance between the edge of the fabric and the stitched seam. The pattern usually specifies this distance. But watch out! It can vary from pattern to pattern. So always check!
Pattern Tissue or Paper
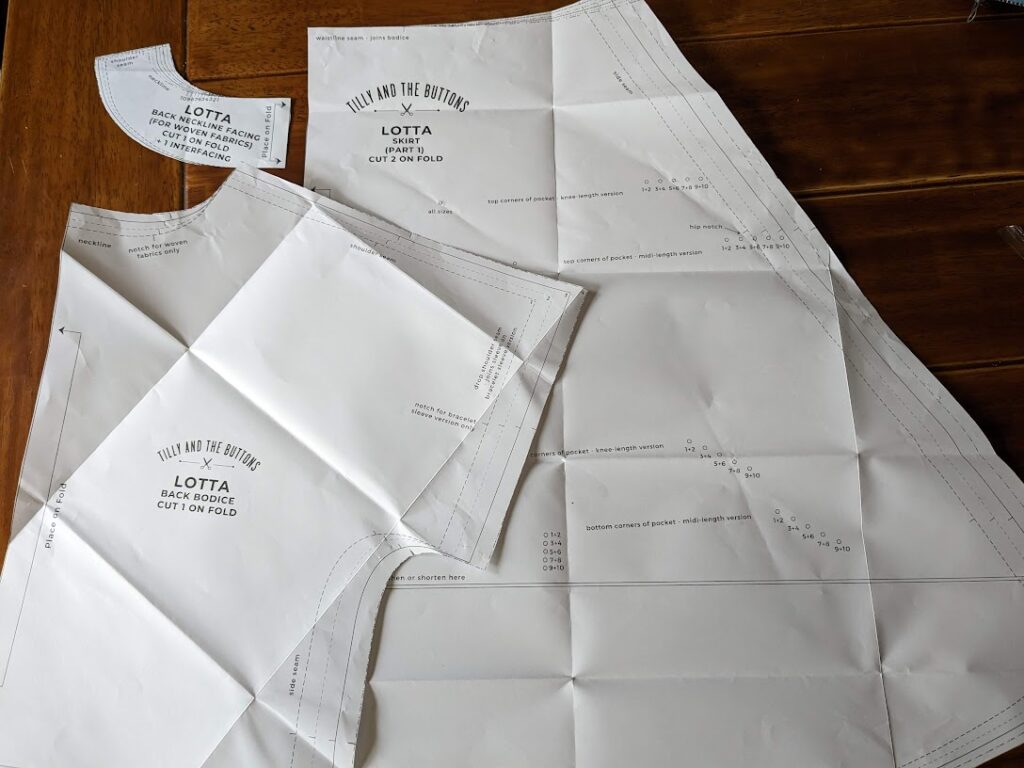
The pattern tissue is where the magic begins to happen. These thin sheets carry the actual pattern pieces you’ll use to cut your fabric. They are marked with essential symbols, which brings us to our next point in understanding how to read sewing patterns…
The Language of Pattern Symbols
Pattern symbols are a universal language in sewing, guiding you in how and where to cut, fold, and stitch. Here are some key symbols you’ll encounter:
- Grainline: This straight arrow indicates the fabric’s grain direction. Aligning the grainline of the pattern with the grainline of your fabric is crucial for ensuring your finished garment hangs properly.
- Notches: These are small markings on the pattern that help you match and align your fabric pieces after you’ve cut them out when sewing them together. They can appear as small triangles or simple lines.
- Darts: These wide V or U shapes represent areas of the garment that need to be shaped for a better fit, such as around the bust or hips.
- Fold Line: This line indicates where your fabric should be folded. This allows for symmetrical pattern pieces or pieces that require double the fabric width.
Learning how to read sewing patterns is like learning a new language – it may feel foreign at first, but with practice, it will become second nature. But with some practice, you’ll be a pro, and maybe even you’ll soon be ready to make your own sewing pattern! So, thread your needle, set out your pattern, and get ready to create something truly unique.