Your first attempt to read a knitting pattern may be a bit intimidating. It’s a little bit like trying to read a map, but at least they taught you that skill in grade school.
Thankfully, knitting patterns are pretty easy to pick up once you understand that they typically follow the same rules. After a quick lesson in some pattern basics and your first couple of patterns on your own, you’ll be able to read a knitting pattern with ease.
Read a Knitting Pattern Before Beginning
Before you even pick your knitting needles, read the entire pattern before you begin. This helps you get a good idea of what you can anticipate for your project. I like to read a knitting pattern before doing anything else so that I can visualize how all the steps will come together.
It’s also helpful to do this so you can assess your needs. For example, the pattern lists all the supplies you’ll need to complete the project. This is crucial knowledge, allowing you to have every tool ready when you need it. However, do you necessarily need all the listed supplies?
For example, if you decide to alter the pattern in some small way, you might not need a specific item on the list. When you read a knitting pattern through beforehand, you’ll understand why each supply is included and can determine for yourself if it’s needed.
Your pattern will also suggest which type of yarn you should use, perhaps even a specific brand. While you don’t need to use the exact yarn the pattern suggests, you should use it as a guide to help you pick a similar one. One with the same weight will be the best type of yarn.
How to Read Knitting Pattern Basic Abbreviations
Some knitting steps are so common that you’ll find them used over and over and over in your pattern. So it only makes sense to find a shorthand way to communicate these basics. It’s almost as if we knitters have our own secret code.
Having a shorter way to communicate these standard knitting steps makes written patterns shorter, so they don’t run on page after page. Abbreviations also make it easier and quicker to read a knitting pattern. You get a good deal of information just by scanning a knitting pattern because the abbreviations jump out at you.
There are many abbreviations since nearly all stitches have one, but you’ll very quickly learn the most commonly used ones. In addition, patterns convey information differently; they aren’t always formatted the same as each other. However, abbreviations remain consistent across all knitting patterns.
Fortunately, your pattern won’t hang you out to dry; it will generally have a legend at the beginning for you to refer to. This is most helpful when you have a less common stitch.
Common Knitting Abbreviations
These are the abbreviations that you’re most likely to encounter in many of your patterns. There are so many others that I won’t list here. Honestly, even after years of knitting, I sometimes still need to look up some abbreviations. Thankfully, the Craft Yarn Council has our back with this complete list of knitting abbreviations.
- k — knit
- p — purl
- sts — stitches
- co — cast on
- bo — bind off
- beg — beginning
- rep — repeat
- sl st — slip stitch
- tog — together
- RS — right side
- WS — wrong side
- inc — increase
- dec — decrease
- yo — yarn over
- K2tog — knit two together
Understanding Basic Knitting Phrases
As we’ve seen with knitting pattern abbreviations, it’s helpful to have a shorthand way to communicate when you read a knitting pattern. Sometimes, instead of abbreviations, patterns will have phrases that indicate a specific message. You are likely to encounter some knitting-specific terms that may give you pause.
As established — Continue working the same way as the last step. This cuts down on having to say the same instruction row by row.
At the same time — You’ll see this instruction when you need to complete two separate steps at once. You’ll mostly see this when shaping is involved.
Back of your work/Front of your work — There’s always a right side and a wrong side to your knitting, just as with your clothing. When an instruction specifies that a step should be done at the “back of your work,” that’s the side that should be facing you on your knitting needles.
End with a WS or RS Row — When you’re completing a section as established or working even, the pattern will indicate which side of your work to finish that step with, either the wrong side or right side.
Inc or Dec Every X row — Shaping your garment will include needing to work some increases and decreases. For a gentle change in the shape, your pattern will instruct you to increase or decrease every certain number of rows, evenly spacing them out.
Pick Up and Knit — This technique is used to create new stitches on your needle out of your already knitted piece. You pull up one of the loops from a previous stitch to form a new one; used frequently for armhole or neck hole shaping.
Work Even – Just keep knitting, with no shaping involved.
Understanding Knitting Pattern Instructions
Your pattern walks you through the entire knit piece, row by row, from CO (cast on) to BO (bind off). As you’ve seen, when you read a knitting pattern, you won’t see every single stitch written out, but once you understand the language, you’ll realize that the instructions are complete.
Once you know the language and all its secret codes (ok, abbreviations), it’s important to get to know the parts of your knit pieces. To ensure your knitting matches your pattern, it will help if you familiarize yourself with the process.
Rows
For starters, your knitting pattern will talk a lot about rows. You work your knitting horizontally across your needles, and the pattern is written to reflect this. When you get to the end of each row you need to turn your piece around and start a new row. (Unless you’re working in the round, of course.)
To make sure you’re working your piece correctly, remember that you should always be holding your knitting, so you work off of your right needle onto the left one. Your working yarn (the yarn that’s attached to your skein or ball) is in your right hand.
Gauge
The most important thing you can do to ensure your knitted garment fits and drapes the way it’s meant to is to match your gauge to what the pattern recommends.
Everybody knits differently. How you hold your needles, your yarn tension, and even the way you sit can all affect how tight or loose your knitted stitches are. That’s why a swatch is critical. You must work to get your swatch to match the gauge on the pattern, or your finished piece won’t be proportional.
For example, if the pattern says your gauge needs to be 16 st over 4 inches, and you get 12 st over 4 inches, you need to make an adjustment to get larger stitches. You have a few options.
- You can try to decrease your tension, meaning knit a little looser. However, this isn’t an ideal solution. You can’t be sure that you can maintain that tension throughout your entire knitted piece since that isn’t your natural tension.
- Try moving up one or two sizes to larger knitting needles.
- Get a thicker, weightier yarn.
Do. Not. Skip knitting your swatch. Many knitters do skip this process because they’re so excited to just jump in and work on their new pattern. I fully understand that excitement! But, when you skip it, you often live to regret it. Me? No way, I’ve never skipped over checking my gauge. (Whistles uncomfortably.)
Sizing
Every person is different, and our bodies are all different shapes and sizes. Since we’re all built differently, of course, some knitting patterns will need to include different sizes.
Most patterns have simple sizing of S/M/L. When this is the case, your pattern will have all three size instructions listed together throughout.
So, for example, you may see steps that say:
CO: 40/42/44
That means if you are knitting a size small, cast on 40 stitches. Cast on 42 stitches for a medium or 44 for a large.
You may also see later on an instruction that says:
Inc 2/2/3
That will mean increase 2 stitches for a small or medium, and 3 stitches for a large size.
Go through your pattern before you begin and circle or highlight the numbers for the size you are knitting. This will make it easier for you to read as you’re working along and make it less confusing.
Ribbing
If you read a knitting pattern that tells you to add some ribbing, that means some variation of knits and purl stitches in equal parts. Ribbing creates an elastic edging, so it’s excellent for hat bands and edges of sweaters.
The most common ribbing patterns are K1, P1, and the slightly more stretchy K2, P2.
How to Read a Knitting Pattern Chart
A knitting pattern chart is a visual representation of a complex pattern, often used to depict a pattern for lace, cabling, or other highly textured patterns. Charts are another form of a written pattern.
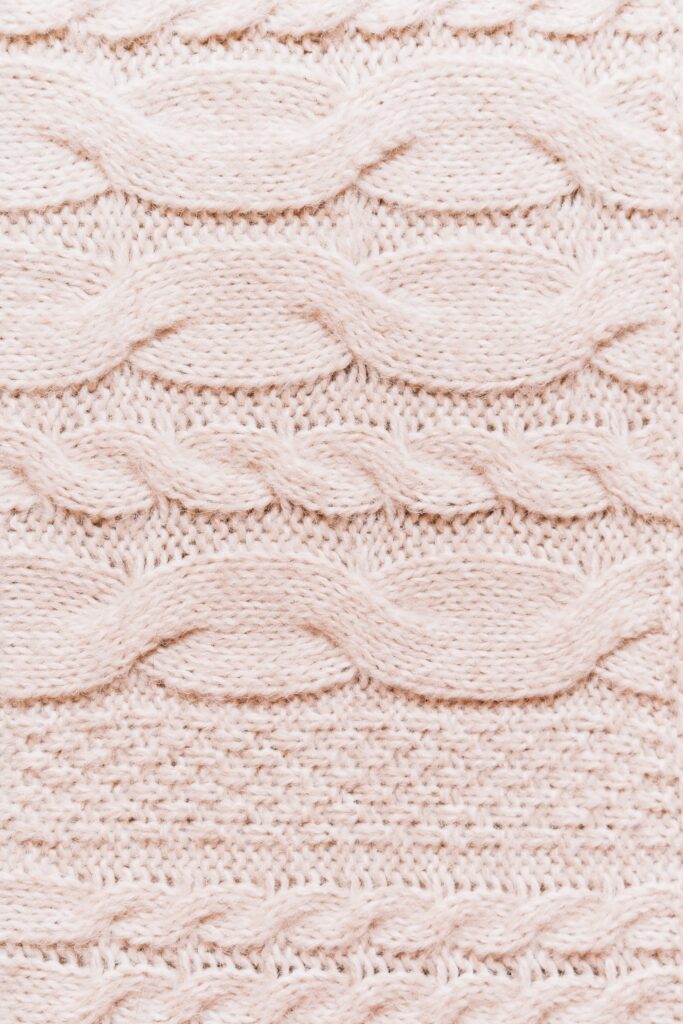
A chart can be complicated to read. It shows you a graphic representation of each stitch in the pattern, even if it’s just a knit stitch. But don’t worry, there is always a legend to decode the symbols.
Following them can get tricky as you progress, especially after setting your knitting aside and coming back to it. It’s wise to always mark your spot on your knitting chart. If you’re following an online pattern, I suggest printing it out and following along on paper. That way, you can easily mark where you are. I often use a sticky note, but some people use colored tape or washi tape.
Which Direction Do You Read a Knitting Pattern Chart?
Patterns make it so easy for you to read a knitting pattern chart. The chart follows the same way you knit.
When you look at the knitting chart, your first stitch is in the bottom right corner. Most of the time, your rows reflect your progress. So, when you are knitting the right side of your garment, you follow the chart from right to left. When you are working the wrong side, you’ll read the chart from left to right.
It turns and goes the opposite way every time your knitting turns, too.
However, be warned! Pay close attention to the legend for your symbols. One symbol will mean knit on the RS but purl on the WS. This will trip you up if you aren’t focused.
Knitting Pattern Symbols
Do you remember high school algebra? No, knitting isn’t as hard as that. However, following knitting instructions may sometimes feel like solving an equation, complete with incorporating symbols like parenthesis and all.
Thankfully, these symbols are here to guide you, not confuse you. They are much more friendly than algebraic equations.
These representations show you the order of certain steps and when you need to repeat them.
Parentheses and Brackets
Sometimes your pattern will have a group of stitches that need to be repeated to create shaping or texture. Parentheses and brackets indicate which stitches need to be repeated and will then tell you how many times.
For example: If you read a knitting pattern that tells you K5 (K2, P2) 4X, that means you need to knit five stitches, then work only two knit stitches and two purl stitches four times in a row. The repeated part is the K2, P2; you only work the K5 once.
Asterisks
Knitting is often a series of repetitive stitches to form your pattern. An asterisk is one way to indicate the beginning of a series to be repeated until the end (or almost end) of the row.
As an example, K5, *K2, P2 means you will knit five stitches and then work K2, P2 until the end of your row.
Trackbacks/Pingbacks