No beginner sewer is immune to common sewing mistakes. It’s all part of the learning process, and the best way to learn is by making these mistakes. However, sometimes we don’t recognize what is causing our sewing projects to look wonky. (Yes, that’s a technical term.)
Here are some of the most common sewing mistakes; check them out and see if you recognize yourself in any of them. Whether you’ve been sewing for years or are just beginning to learn to sew, we’re all prone to some of these errors. Heck, I still slip up and make some of these mistakes from time to time!
Avoid Common Sewing Mistakes Before You Begin
I get it; you are super excited to jump into your new project and just can’t wait to get started. Prep work can feel like drudgery because it’s not the fun part!
The thing is, you can head off many common sewing mistakes before you even get started if you prepare everything properly. Getting started on the right foot takes you far and prevents many troubles down the road.
Starting with a Pattern That’s Too Complex
RESULT: Feeling overwhelmed and incompetent at sewing.
Don’t let your ambition get ahead of you. As a beginner, it’s necessary to slowly work your way up to the more complicated projects. You may not love or want the simpler items you can sew in the beginning, but that’s ok! They make great practice pieces; we all have to start somewhere.
And that difficult but pretty garment pattern will still be there when your skills have leveled up!
Choosing the Wrong Fabric
RESULT: Your fabric might lay incorrectly, and the garment won’t look how it should.
It can be very tempting to just go with whatever fabric you like best, but that’s not a great plan. Each garment requires a specific drape or type of texture. If your material is not suitable for your pattern, you might wind up with the completely wrong structure.
When choosing your material, ask yourself how the finished project will be used. For example, should it be a light and delicate garment, or is it an item that will get heavy use? The fabric should reflect the answer.
So, not all fabric is appropriate for every sewing project. But check your pattern; it will almost always have a fabric suggestion. Heed your pattern’s advice; your patternmaker knows best.
Not Properly Prepping Your Fabric
RESULT: Your finished garment may shrink after you sew it and could be unwearable
You should always wash, dry, and iron your fabric before sewing. If the material is prone to shrinkage, it’s best to have that happen first so that what you sew stays the same size. It would be terrible to spend all that time laboring over your perfect garment only to wash it after wearing it for the first time and discovering it no longer fits!
Don’t forget to give any lining, trim, etc., the same treatment. Those are also susceptible to change after they go through the spin cycle.
Not Having Extra Fabric In Case of Mistakes
RESULT: Not being able to finish the project you started
It is always a wise idea to buy a bit more fabric than your pattern calls for. That way, you aren’t out of luck if you screw up badly enough that you might have to scrap that entire section of your project.
It isn’t often that you can’t salvage some good from a sewing error, but there will be times that you accidentally cut a piece incorrectly or stitch it and can’t restitch it a different way. Having some backup fabric gives you room to breathe so that mishaps don’t feel like the end of the world.
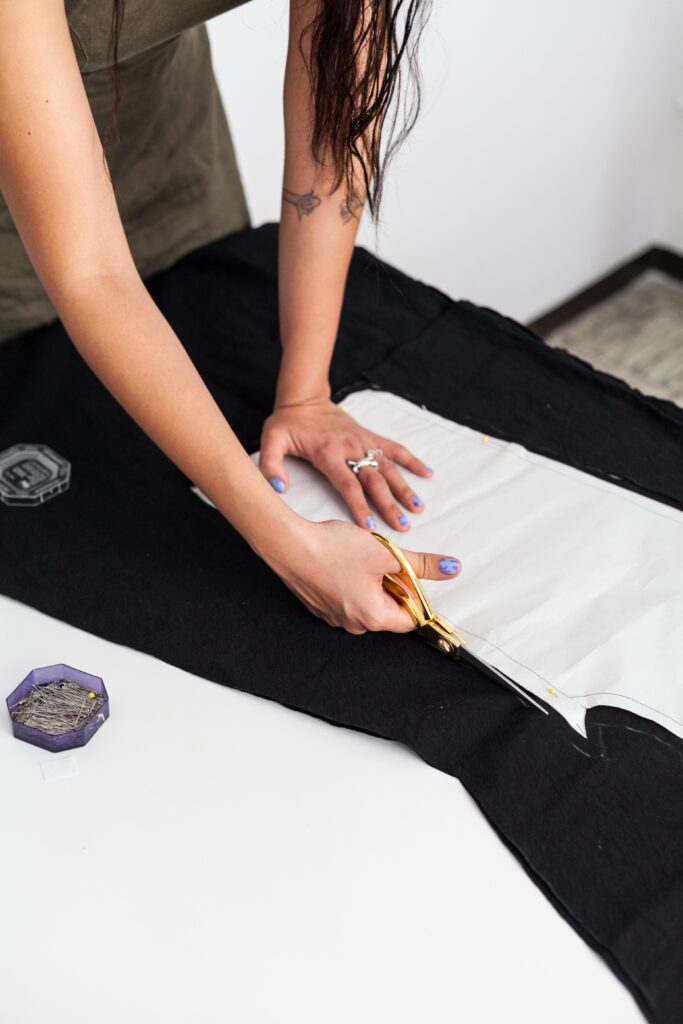
Using Your Sewing Scissors for Other Things
RESULT: Dull scissors that shred your fabric or don’t even cut at all
Never, ever, never, never use your fabric shears on anything other than fabric. Not even something as seemingly harmless as paper!
This is one of the quickest ways to dull your scissors, making them ineffective in getting a clean piece of fabric. It will make you absolutely miserable to be sawing away at a scrap of cloth that just looks like a beaver chewed off the edges. Your shears need to be sharp.
If you have to hide your fabric shears from your kids or spouse, do it. They can find another pair.
Avoid Common Sewing Mistakes in the Sewing Process
Ok, so now you’ve started off on the right foot. Most of your most common sewing mistakes will, of course, happen during the actual sewing.
But take a deep breath and get ready to jump in. This handy guide will help keep you on the right path to quality work. But if you mess up, please remember it’s not the end of the world! Heck, I do it all the time. That’s why I’m still adding to this list all the time!
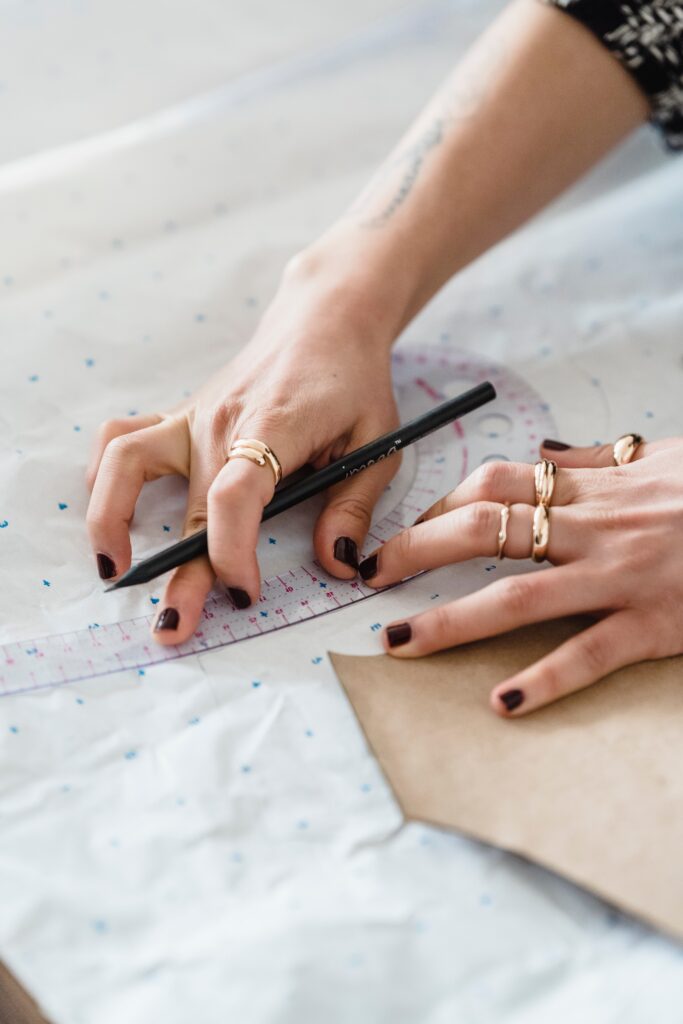
Cutting Your Pattern Incorrectly
RESULT: Weird pulling and scrunching on your garment
It isn’t instinctual, but it’s essential to be sure that your fabric grain always lines up correctly with your pattern. If the cloth’s weave is running counter to the way the piece needs to be sewn, it won’t drape properly.
The cuts and folds of each piece need to be directly aligned with the grain of the fabric. Pin it in place before cutting it to ensure it stays perfectly lined up where you need it. You certainly don’t want to cut the piece wrong; you can’t recover from that.
Not Finishing Your Seams
RESULT: Your seams and fabric edging may unravel and fall apart
Keep your seams not only looking nice but also from falling apart by applying bias tape to the edges. The other option is to stitch the unfinished edges of your seam, so it doesn’t begin to fray. This ensures that the threads on your fabric don’t start coming undone as your garment goes through the wear and tear of washing and wearing.
Nothing could be as bad as your favorite new shirt slowly unraveling each time you wear it.
Not Pressing Your Seams Correctly
RESULT: Seams that look messy and puckered and are difficult to sew
Flat seams always look more professional. Puckered lines along your garment indicate something made at home and look like you worked in a hurry to get it done.
I know that it’s a massive pain in the you-know-what to pull out your iron. And yes, the process is time-consuming and tedious. But it’s crucial if you want your project to look high-quality.
So here’s my pro tip: do several of your seams at once. If you work in batches, it won’t feel like you’re breaking up your sewing rhythm.
And be sure to always use the correct temperature setting for your fabric!
Skipping Interfacing
RESULT: A wrinkly, shapeless mess
You might feel that this is also a tedious step that you can skip if you feel like it, but believe me, it’s there for a reason!
The interfacing or fusing gives your piece structure, ensuring that it sits the way it’s intended to upon your body. Without it, your garment will look dull and lifeless as it just hangs off your body. A nice-looking garment feels tailored, not slapped together.
You’ll be glad in the end that you took the time to add this touch that gives your finished product that bit of oomph.
Inconsistent Seam Allowances
RESULT: Mismatched sections, with some areas too large or too small
The seam allowance won’t matter much for some projects, but it can significantly affect others. This is especially true when you have a project with multiple pieces that need to be sewn together.
It’s easy to measure your seam allowances, thankfully. Your sewing machine measures them out for you on the base plate.
Keeping your seam allowances consistent ensures that each section lines up with the next one flawlessly. So if your pattern tells you to keep a ¼” seam allowance, there’s a reason for that choice. So keep to it, and follow that guidance throughout the entire project.
Avoid Common Sewing Mistakes After Your Project
Yep, some things happen after your sewing project that can cause foul-ups down the road for future sewing projects. Protect your future sewing self with these couple of forward-looking tips. Your future sewing self will thank you!
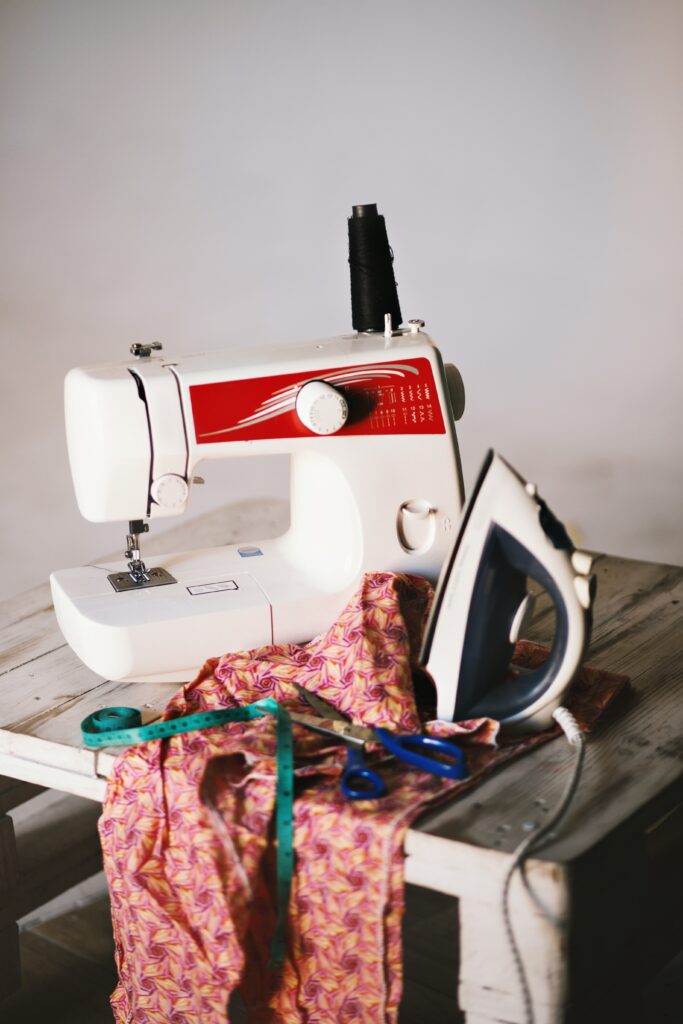
Not Cleaning Your Sewing Machine Regularly
RESULT: Machine performance issues
When working with fibers and threads, you may notice that they have a habit of shedding. These fuzzy cast-offs can build up around your bobbin area and your needle, and various parts of your sewing machine. That can cause your thread to bunch up as you’re sewing. So after each sewing session, open up your machine and clear out any fuzzy remnants, so there’s nothing clogging up your device the next time you pull it out.
All machines benefit from a bit of oil, too. Give your sewing machine a bit of lubrication once in a while to ensure your gears maintain their functions. This can significantly extend your sewing machine’s life!
And finally, invest in a good case or cover for your sewing machine. When your machine isn’t in use, it can gather dust which will also clog your components. Keep it covered, so it’s in top shape the next time you sit down for a project.
Letting Common Sewing Mistakes and Setbacks Discourage You
RESULT: An unhappy relationship with sewing and maybe giving up
Hey, don’t let your mistakes get you down! They are bound to happen, sometimes from lack of experience or sometimes from not paying attention. Goof-ups happen to the best of us.
So, whether you have a weird spot in your finished project or the entire piece is unwearable, just take a deep breath and let it go. You can learn from your mistakes, you can laugh at your mistakes, but you can’t give up because of them. Instead, remind yourself how much you enjoyed the process, and just try it again.
Trackbacks/Pingbacks