When you were learning how to knit, who knew that knitting would involve not only yarns, needles, and patterns but also something called “blocking”? (Another term to add to your knitting definitions!) Yes, blocking knitting. If this phrase makes you scratch your head, worry not!
Let me assure you blocking is no more than a finishing technique for your knitted creations. In fact, it can be as friendly and approachable as that last stitch you dropped (and managed to recover!). So, grab your knitting needles, prepare your sense of humor, and let’s dive into the knotty world of blocking knitting!
What is Blocking, and Why Do It?
Simply put, blocking is the process of wetting or steaming your final knitted piece to set the shape. It’s like giving a spa day to your knitted project, where you let it relax, stretch, and settle into its beautiful, final form.
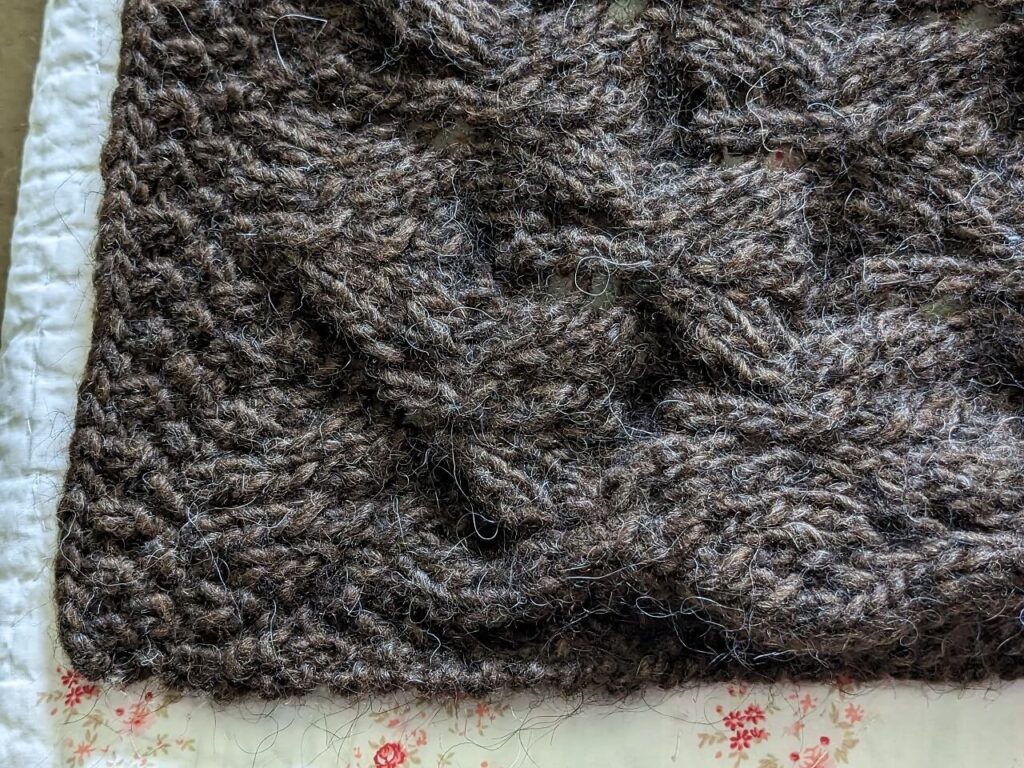
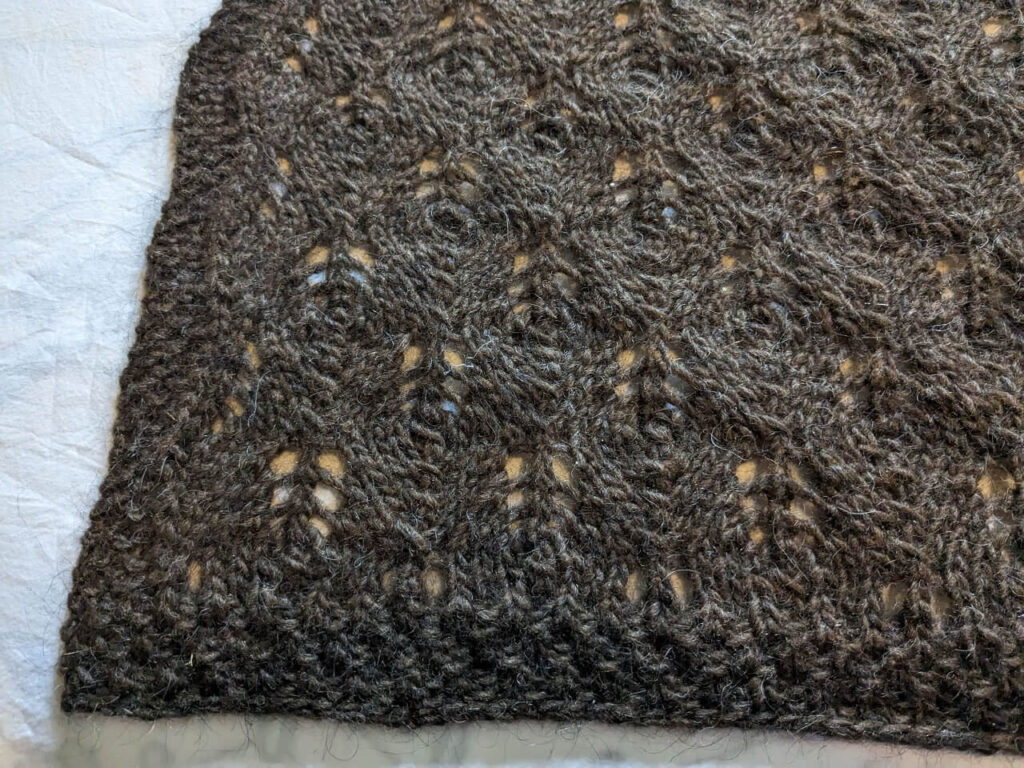
Imagine you’ve knitted a lovely lace shawl. The pattern is exquisite, and you’ve spent countless hours working on it. Yet, when you finish, the shawl looks a bit…crumpled. The intricate lace pattern is there, but it’s not quite “popping.” That’s where blocking comes to your rescue. With proper blocking, the crumpled lump transforms into a beautiful, draped masterpiece, showcasing your detailed work.
Blocking is also helpful when you wash knitted sweaters to help restore them to their original shape.
The Impact of Fiber and Pattern on Blocking Knitting
One size does not fit all in the world of knitting, especially when it comes to blocking. The fiber you’re using and the pattern you’re working on are two crucial factors to consider. Understanding their characteristics and how they respond to blocking will guide you toward the best method.
Fiber Matters: From Natural Wools to Synthetic Yarns
When it comes to fiber type, each has its unique traits that affect how it behaves during the blocking process.
Natural Fibers: Wool and other animal fibers like alpaca or cashmere are generally the most responsive to wet blocking. They’re often the best types of yarn to work with in general. The heat and moisture relax the fibers, allowing them to be manipulated and hold their new shape well after drying. Natural plant fibers such as cotton and linen also respond well to wet blocking, though they may need a bit more shaping as they tend to stretch more.
Synthetic Fibers: On the other hand, synthetic fibers such as acrylic or nylon don’t block in the same way as natural fibers. Since they are essentially plastic, they don’t respond well to wet blocking and may need steam blocking for the heat to help set the shape. However, caution is required not to melt the fibers!
Blends: Yarns that are a blend of natural and synthetic fibers might require a bit of trial and error. As a rule of thumb, treat blends according to the blocking method best suited for the most sensitive fiber in the mix.
Pattern Matters: Showcasing the Beauty of Your Work
The pattern of your knitting project can dramatically affect how you approach blocking. Certain patterns require more aggressive blocking to show their true beauty, while others need only a light touch. Often, if you read a knitting pattern, you’ll notice it may guide you on the best way to block.
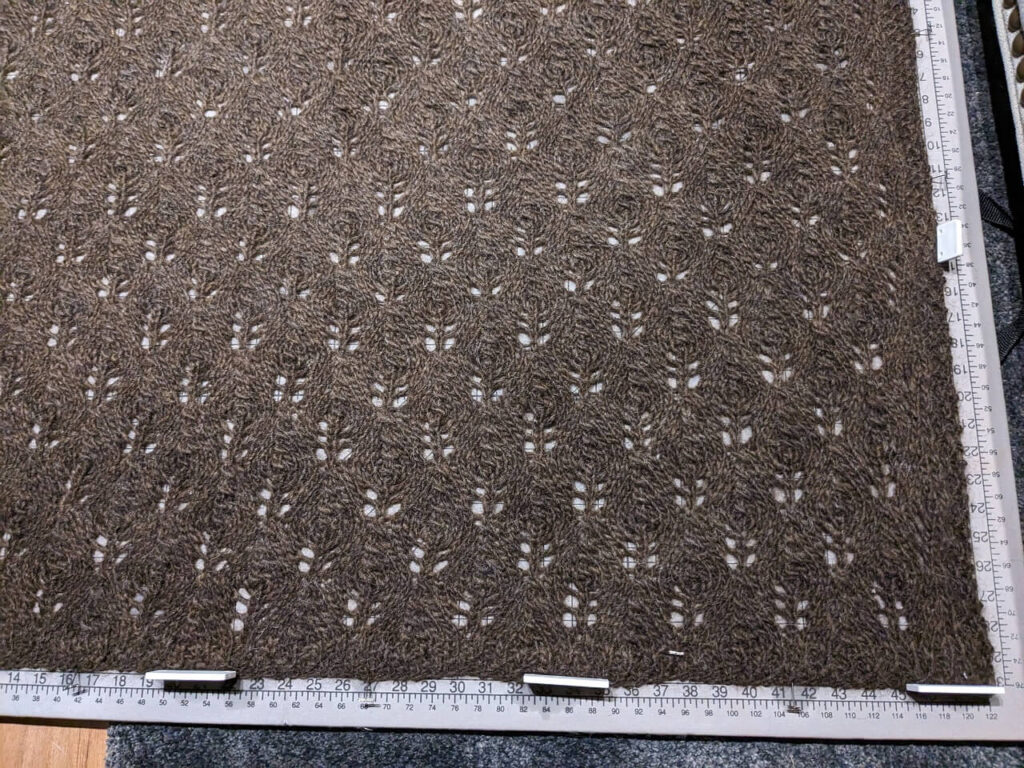
Lace Patterns: Lace projects, with their intricate, open designs, benefit tremendously from blocking. Wet blocking is usually the best choice for lace, as it allows for aggressive stretching and shaping that opens up all those yarn overs and decreases to reveal the intricate design. Without blocking, a lace project might just look like a crumpled piece of yarn. But with proper blocking, it transforms into a breathtaking piece of artwork.
Cabled Patterns: Cabled patterns, which create a raised texture on the fabric, also benefit from blocking. However, they require less stretching and a more gentle evening out of the fabric. Different cast on methods can help, but blocking does the rest. Wet or steam blocking works well, helping to define the cables and make them pop.
Colorwork Patterns: Patterns involving multiple colors, like Fair Isle, can have their tension evened out through blocking, making the overall appearance neater. Wet blocking is usually the go-to method for colorwork projects, helping to hide any loose strands on the back of the work and improving the drape.
Stockinette and Garter Stitch: Stockinette stitch has a tendency to curl at the edges, while garter stitch can often look uneven. Both can benefit from a light blocking to smooth them out. Either wet or steam blocking can work for these basic stitches, improving the fabric’s drape and appearance. If you’re a tight knitter, this could also help relax your stitches a bit.
In the end, understanding your fiber and pattern will help you make the best blocking decisions for your project, showcasing your hard work and skill to their fullest potential. Remember, when in doubt, test block a swatch before diving into the full project.
Step-by-Step Guide to Blocking Knitting
It’s tempting to skip the blocking process. I get it: you’ve already spent so much time crafting this beautiful piece and just want to be done! Who needs the extra work?
I’ll tell you who needs the extra work: you do. Otherwise, your finished garment isn’t as gorgeous as it’s meant to be. I promise this additional process is well worth your time. It’s one of the knitting tips that adds the final professional touch to your hard work.
Method 1: Wet Blocking (Best for Natural Fibers)
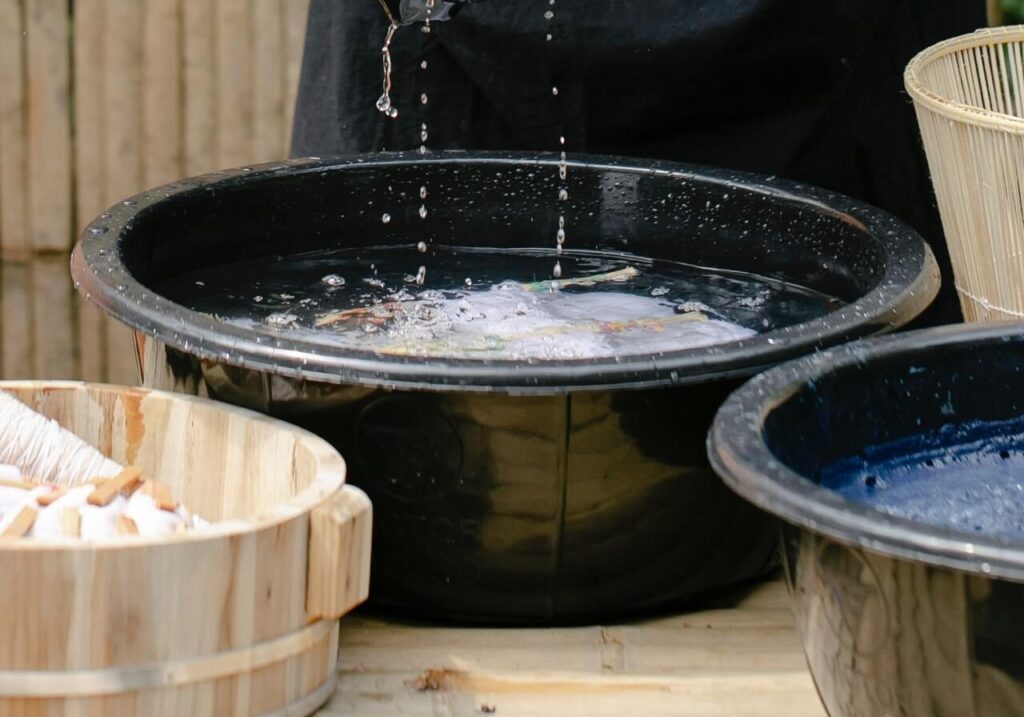
Our first method involves soaking your knitting project in water. Here’s a step-by-step guide:
- Fill a basin with lukewarm water and a bit of mild detergent.
- Submerge your knitted item, gently squeezing to ensure the water penetrates the fibers.
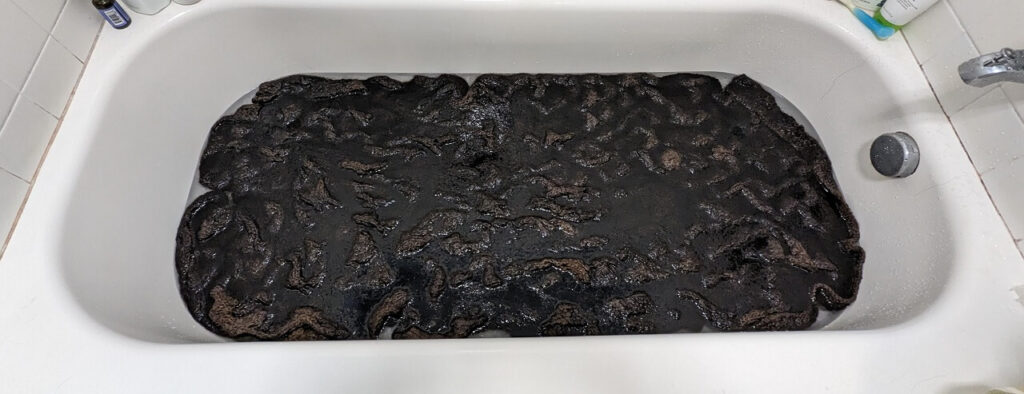
- Let it soak for about 15-30 minutes.
- Rinse the item in clean water, making sure not to wring or twist it.
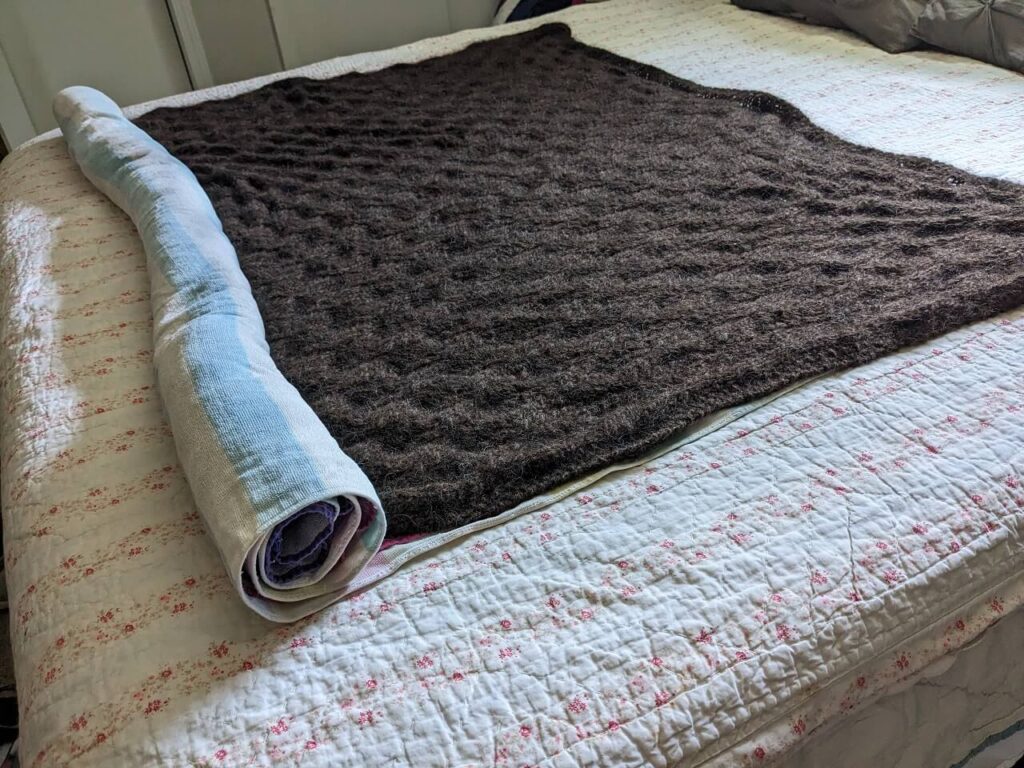
- Roll it up in a towel and press gently to remove excess water.
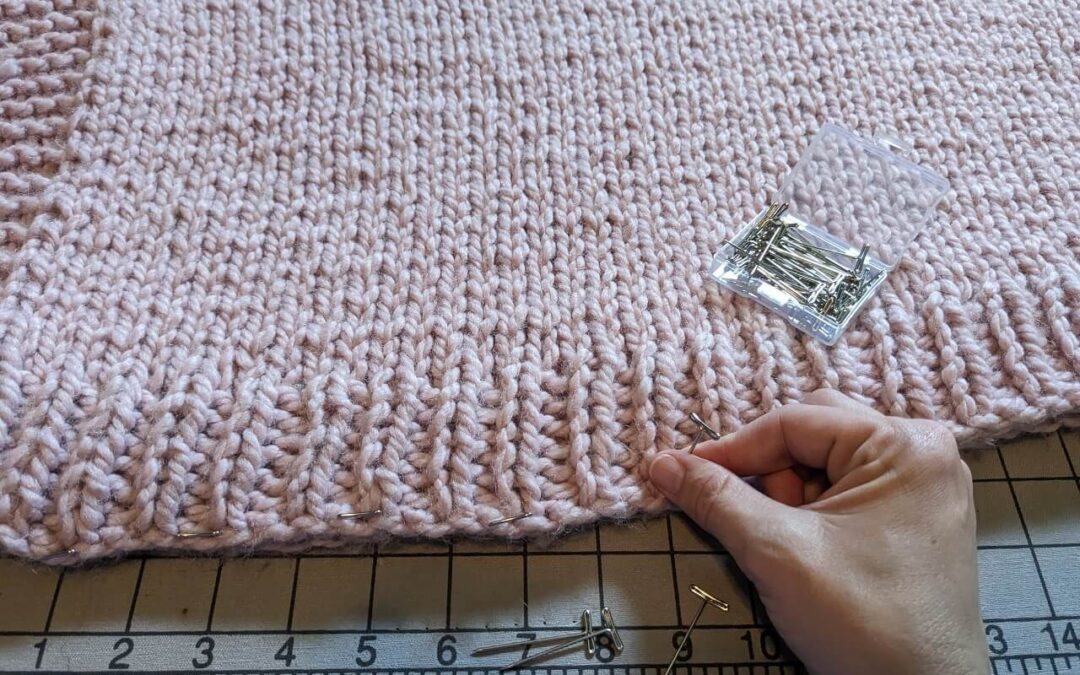
- Finally, lay it flat on a blocking mat and shape it according to the pattern’s dimensions. Hold in place with blocking pins.
Method 2: Steam Blocking (Best for Delicate Projects)
Steam blocking might be your go-to method if you’re dealing with more delicate or synthetic fibers. Here’s how you do it:
- Pin your dry item to a blocking mat in the shape you desire.
- With a steamer or iron on the steam setting (keep the iron a few inches above the item—contact can melt synthetic fibers), steam the item evenly.
- Let it cool down and dry in place.
Method 3: Spray Blocking (Best for Fast Blocking)
Spray blocking could be the answer for those who want a faster method. Here’s the process:
- Pin your dry knitting project to a blocking mat.
- Using a spray bottle filled with water, mist the item until it’s damp but not soaked.
- Leave it to dry in shape.
Method 4: Dry Blocking (Best for Quick Fixes)
Last but not least, we have dry blocking. It’s ideal for minor shape adjustments or for yarns that don’t react well to water or steam.
- Pin your item to a blocking mat.
- Adjust its shape as desired.
- Leave it to set.
Essential Tools for Blocking Knitting: More Than Just Pins and Mats
When you’re about to embark on your blocking journey, having the right tools at your disposal is essential. Without them, you’ll find yourself frustrated and undoing all your peaceful benefits of knitting. You might already have some of these around your house, while others could be worth investing in to ensure the best results for your knitted masterpiece.
Blocking Mats or Board
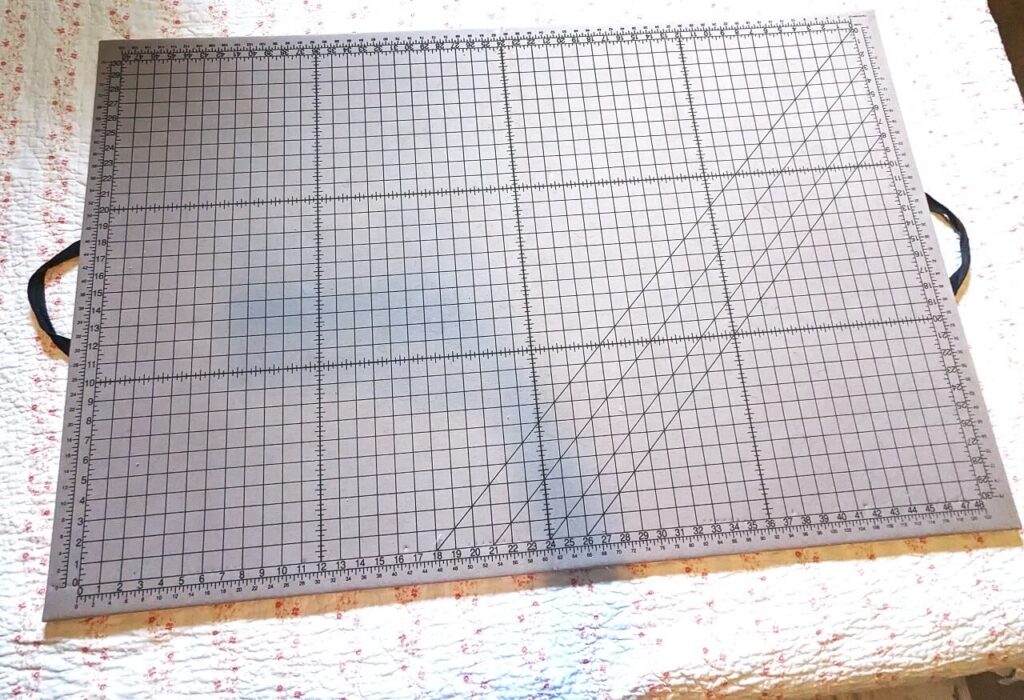
Blocking boards or mats are indispensable tools in the blocking process. They provide a flat surface where you can spread out your project and pin it into shape. Many blocking mats come with grid lines, making it easier to align and shape your work accurately. They are usually made from foam, which allows pins to be inserted easily and is waterproof for wet blocking.
T-Pins
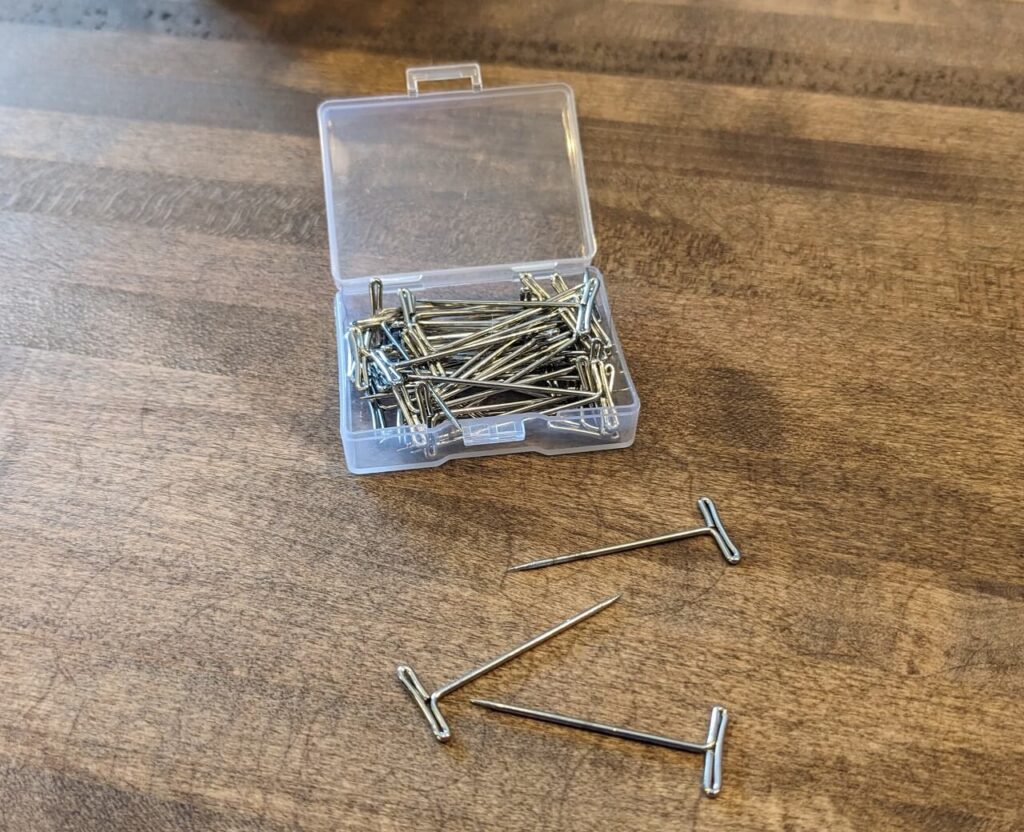
T-Pins are a type of pin used to secure your knitting project to the blocking mat. They’re usually made of stainless steel, which won’t rust when used for wet blocking. T-Pins are sturdy and thick enough to hold heavier knitted items in place. Their T-shape also makes them easier to handle than regular straight pins.
Basin and Mild Detergent
You need something large enough to soak your project if you’re doing wet blocking. It’s ideal to have a basin or sink large enough to fully submerge your piece without crowding it. Pair it with a mild detergent, specifically one suitable for the fiber content of your yarn. Baby shampoo or a gentle wool wash work well for animal fibers, while mild dish soap can be used for plant and synthetic fibers.
A Steamer or Iron

A steamer or iron with a steam setting is an essential tool for steam blocking and can also be used to add a final touch to wet-blocked pieces once they’re dry. If using an iron, remember never to touch it directly to your knitted piece, especially if it contains synthetic fibers, as this could cause the yarn to melt.
A Spray Bottle
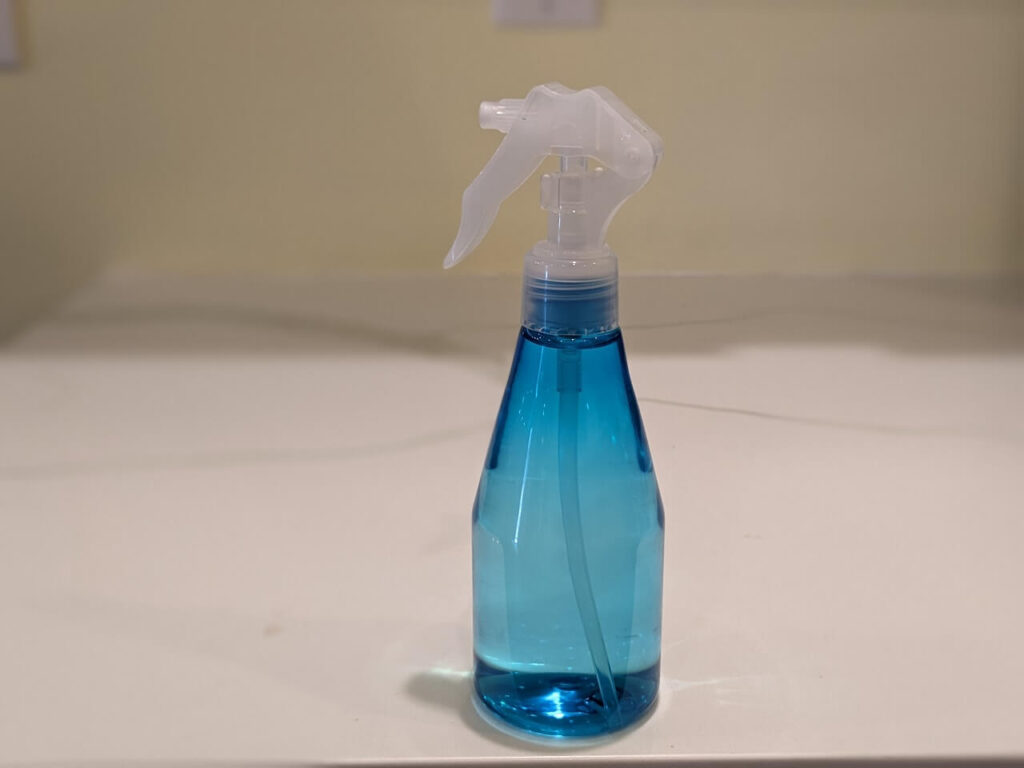
A spray bottle comes in handy for spray blocking. It allows you to dampen your project without fully submerging it, giving you more control over the amount of moisture added.
Measuring Tape

A measuring tape is crucial to ensure you’re blocking your project to the correct dimensions. Even without preparing to block, a tape measure is one of the essential knitting supplies for beginners. This will help you get the precise measurements specified in your pattern, producing a well-fitted final product.
Wires and Thread
Blocking wires can be incredibly useful for certain projects, like large shawls or scarves. These long, flexible cables can be threaded through the edges of your piece to keep them straight and even during blocking. Some knitters also use smooth cotton thread or dental floss in a pinch.
Sock Blockers
If you’re a fan of knitting socks, investing in a set of sock blockers might be a good idea. You slide your finished socks onto these plastic or wooden forms for blocking. They help the sock retain a perfect foot shape and ensure a professional finish.
Blocking Combs or Knit Blockers
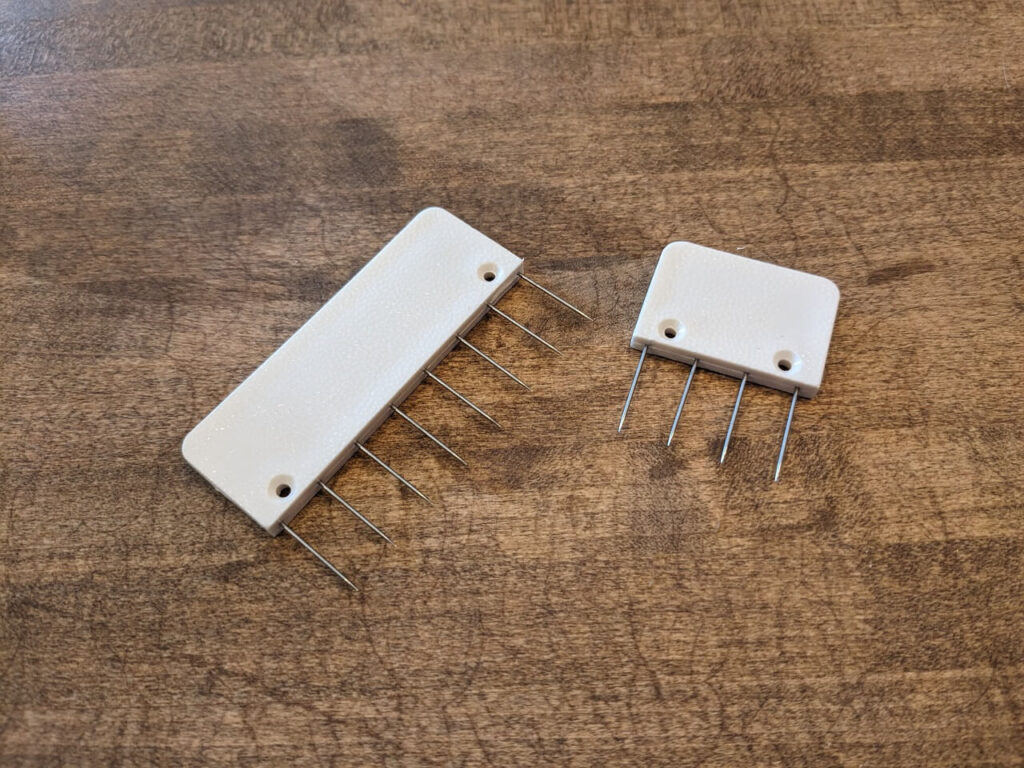
Blocking combs or knit blockers are great alternatives to T-Pins, especially for larger projects. They are essentially a set of pins mounted in a rigid plastic bar, allowing you to pin larger sections of your work at once. They are handy for maintaining a straight edge on your project.
So, there you have it—a comprehensive guide to blocking knitting. It might seem a bit daunting at first, but remember; it’s truly the finishing touch that can elevate your knitting from homemade to handmade. So, go on and block away. And let me know if you have any questions!