The last thing you’re thinking at the start of any sewing project is how to wash fabric before sewing. Every fabric lover knows the thrilling yet daunting feeling of getting ready to sew a new project. Your hands might tremble as you clasp your scissors, your heart might race as you hover over your sewing machine.
But, amidst this fabric frenzy, remember one crucial step: the pre-wash. This might sound as exciting as watching paint dry, but hear me out. This should be your first lesson when you learn to sew: pre-wash your fabric! Today, we’ll delve into why and how to wash fabric before sewing because no one likes a shrunk, frayed, or faded disappointment.
Why You Should Pre-Wash Fabric
While pre-washing may seem like a chore or an unnecessary step, it can drastically improve the outcome of your sewing projects. Whether you machine sew or want to sew by hand, pre-washing helps ensure accuracy, longevity, and quality in your creations. It might take a bit of extra time, but your future sewing-self will thank you for it!
Here are some of the reasons you’ll benefit from this extra load of laundry. Each one may not apply to all fabrics.

Shrinkage Control
We’ve all been there. You spend countless hours measuring, cutting, and sewing the perfect piece, only to have it shrink to a miniature version of itself after the first wash. Such a heart-wrenching experience!
Most fabric types, especially natural ones like cotton, linen, and wool, are prone to shrinkage when they get their first taste of water. Synthetic fabrics aren’t entirely immune either; they can distort or shrink under certain washing conditions. Pre-washing helps control this inevitable shrinkage by ensuring it happens before you start cutting and sewing. This way, your beautifully crafted piece maintains its intended size and fit, wash after wash.
Color Retention
Imagine the horror of seeing your stunning red cotton fabric bleed into a soft pink or that crisp white linen now splotched with unwanted dye from another fabric. Pre-washing fabric helps remove any excess dye that may lead to color bleeding or transfer in future washes. So, your vibrant hues stay as dazzling as the day you bought them, and your whites stay pristinely white.
Hygiene and Comfort
During production and display in the store, fabrics can accumulate dust, dirt, and even come in contact with chemicals. Pre-washing your fabric is not just about maintaining aesthetics and size but also about cleanliness. It’s an effective way to ensure your fabric is free from any unwelcome grime or chemical residue, making it safe and comfortable against your skin.
Texture and Drape
The texture and drape of a fabric can change significantly after washing. Some fabrics soften, creating a more relaxed look and feel. Others may become more rigid or textured. Pre-washing allows you to understand the final hang and drape of your fabric, ensuring it aligns with your vision for the final piece. This is an excellent way to avoid some common sewing mistakes!
Pattern Accuracy
When you first learned how to read sewing patterns, you may not have learned that pattern pieces are typically designed with washed fabric in mind. This means they account for any changes in texture, drape, or size that occur after washing. If you cut your pattern pieces from unwashed fabric, you risk inaccuracies in sizing and fit.
When Not to Wash Fabric Before Sewing
Although the rule of thumb is to pre-wash fabrics before sewing, there are exceptions where skipping the wash can save your fabric from potential damage. Ruining your fabric before you even begin your project is not one of the sewing benefits of pre-washing your material!
Dry-Clean-Only Fabrics
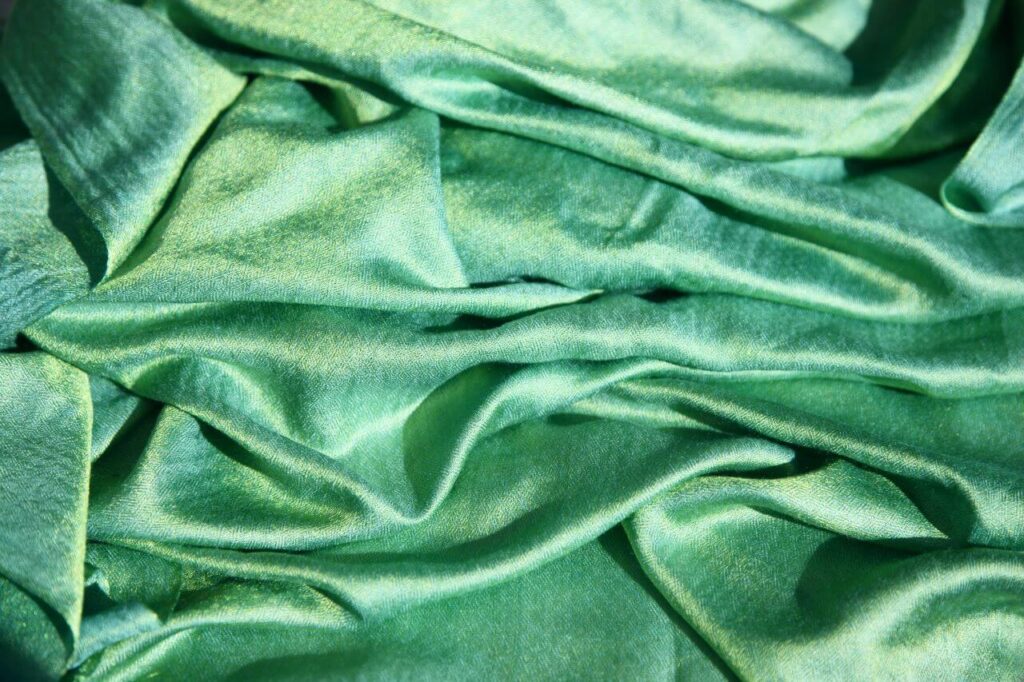
Fabrics like silk, velvet, rayon, and certain wools are often labeled as “dry-clean only.” Washing these fabrics at home can lead to permanent damage such as shrinkage, color bleeding, or texture changes. If you’re sewing with these materials, it’s better to dry clean them before and after sewing to maintain their quality and integrity.
Delicate Fabrics
Fabrics like lace, chiffon, tulle, or certain types of silk are delicate and can be easily damaged in a standard washing machine cycle. The agitation from the wash can cause these fabrics to fray or tear. For these materials, consider a gentle hand wash or a professional cleaning instead of a traditional pre-wash.

Non-Washable Fabrics
Certain fabrics like leather, faux fur, or certain types of upholstery fabric are not meant to be washed. Washing these materials can lead to irreversible damage. Instead, these fabrics might require spot cleaning or professional cleaning. Always read the fabric care label or ask the fabric store staff if you need clarification.
Pre-Treated Fabrics
Some fabrics come pre-treated or pre-shrunk by the manufacturer and thus do not require pre-washing. Fabrics like quilting cotton or certain types of knitwear often fall into this category. However, it’s always worth double-checking the fabric care instructions to be sure.
When Time is of the Essence
Let’s face it: sometimes, we’re under time pressure or caught up in the excitement of a new project. If you simply can’t wait to start sewing, and you’re using a fabric that has minimal shrinkage and colorfast dye, you might choose to forgo pre-washing. However, remember that this does come with a risk of unexpected shrinkage or color bleeding in the future.
I don’t endorse this approach, but if you’re willing to take that risk, go ahead!
How to Wash Fabric Before Sewing
So, how to get that fabric ready for its bath? Let’s break it down, step by step.
- Sorting the Fabrics
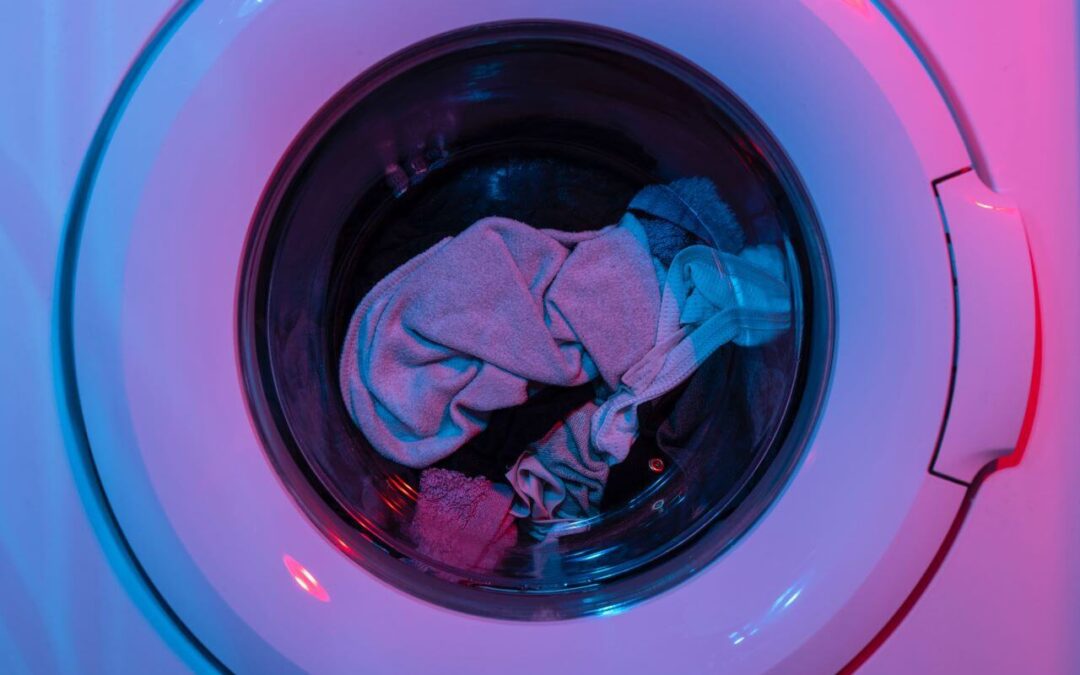
When you have several different fabrics to pre-wash, sorting them before tossing them into the washing machine is essential. Separate your fabric by color, similar to your regular laundry routine. Dark or brightly colored fabric should be washed separately from light or white fabric to avoid color transfer.
Also, try to wash similar fabrics together. This means keeping the delicate fabrics separate from heavier materials and washing the different types of fabrics in the appropriate settings.
- Choosing the Right Detergent and Temperature
When washing your fabric, use a mild detergent appropriate for the fabric type. (You didn’t expect laundry detergent to be on your list of supplies for sewing, did you?) Some fabrics may require a specialized detergent, like a wool wash for woolen fabrics, so be sure to check the fabric care instructions.
The water temperature you choose should be the same temperature you plan on using for the finished product in the future. This way, the fabric has already been subjected to that temperature, and you won’t risk additional shrinkage or color bleeding.
- Selecting the Right Washing and Drying Method
For most fabrics, a gentle wash cycle is best to prevent the material from becoming too agitated, which can lead to fraying or pilling. Once the wash is complete, you can dry your fabric. This might be air-drying for some, while others can be tumble-dried. Remember to dry your fabric the same way you intend to dry your finished garment or product.
- Using a Mesh Laundry Bag for Delicate Fabrics
If you’re pre-washing delicate fabrics, consider using a mesh laundry bag. This can help protect the fabric from becoming tangled or damaged during the wash cycle. You might also want to use the delicate cycle on your washing machine for these fabrics.
- Ironing

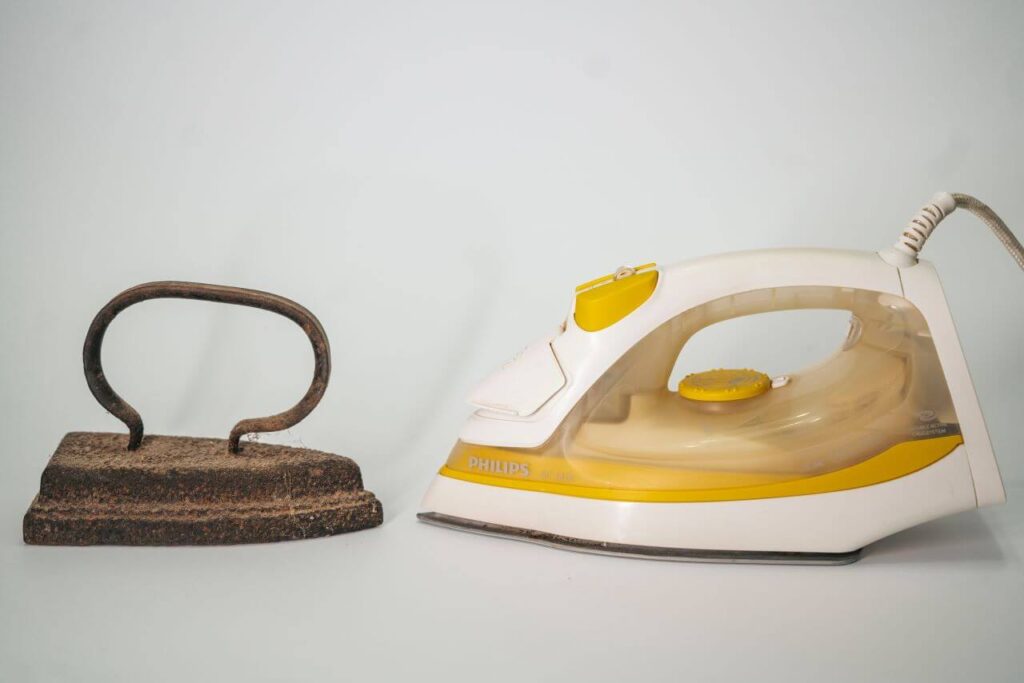
After washing and drying your fabric, it will likely have some wrinkles. Before cutting and sewing, give it a good press with an iron on an appropriate setting for the fabric type. This ensures accurate measurements and a smooth, professional-looking final product. And keep your iron out; you may need it for any interfacing.
How to Pre-Wash Fabric Without Fraying
The arch-nemesis of pre-washing, fraying, is like the villain in a fabric’s superhero tale. But never fear, dear reader, for you are armed with knowledge!
One of the most effective ways to prevent fraying is to finish the edges of your fabric before washing. Using a zigzag stitch on your sewing machine, you can create a simple finish that can withstand the washing machine’s agitation. If you have a serger, you can use it to overlock the edges for an even stronger finish. This creates a barrier that stops the threads from unraveling during the wash.
Hand washing is another way to pre-wash your fabric while minimizing fraying. This method is much gentler than a machine wash and gives you more control over the process. To hand wash, fill a basin with lukewarm water and a mild detergent. Immerse the fabric, gently agitate it with your hands, and then rinse thoroughly.
Before washing your fabric, give it a once-over and trim any loose threads. These threads can tangle or fray further during the wash, leading to more damage. A quick trim can help keep your fabric in good condition.
Pinking shears are a type of scissors with a serrated edge that creates a zigzag cut. Cutting the edges of your fabric with pinking shears before washing can help prevent fraying. This method is more commonly used for woven fabrics, as knit fabrics are less likely to fray.

How to Test for Shrinkage
Performing a shrinkage test before you begin your sewing project can save you from unexpected size changes in the finished product. Here’s how to do it:
Cut a Test Square – Start by cutting a square piece of fabric, ideally 10″ x 10″. This size is large enough to give you a good idea of how much the fabric will shrink and small enough that it won’t waste too much material.
Measure and Document – After you cut the square, measure each side accurately and record the measurements. Be as precise as possible – this is crucial in determining how much your fabric will shrink.
Wash and Dry – Next, wash and dry the square exactly how you plan to wash and dry your finished product. This includes using the same water temperature, detergent, and dryer settings.
Re-measure – After the square is completely dry, re-measure each side. Again, be as accurate as possible, noting each measurement.
Calculate Shrinkage – Now, it’s time to do some math! Subtract the post-wash measurement from the pre-wash measurement. If there’s a difference, your fabric has shrunk.
For example, if your fabric was 10 inches before washing and 9.5 inches after, it has shrunk by 0.5 inches. To calculate the shrinkage rate, divide the difference by the original size and multiply by 100 to get a percentage. In this case, ((10 – 9.5) / 10) * 100 = 5%. This means your fabric has a shrinkage rate of 5%.
Adjust Your Pattern – With the knowledge of how much your fabric shrinks, you can adjust your pattern accordingly. For example, if your fabric shrunk by 5%, you would add 5% to your pattern pieces to account for this shrinkage. This is no sweat if you know how to make your own sewing pattern!

